Rendering HERE map using Golang
Golang has been on the rise in the last 4 years, tech giants and Multinational corporations (MNCs) are adopting it. Things like easy to learn, concurrency, quality tools, speedy execution of tasks and ease of maintenance makes Go a very popular programming language.
This blog post is a quick tutorial on how to create a web application in Golang and show a HERE map. Let us get started!
Prerequisites
Your machine should have Golang installed (you can get it from here) and if you haven't done so yet, you will need to sign up for a Freemium account on developer.here.com. Once you signed up, you can generate your free API key and get 250.000 free transactions every month.
Building the Front End
Before we dive in to the Golang code, let us set up the front end. A HTML file will be required to show the map on the browser. For this, create an HTML file and name it as “map.html”.
<!DOCTYPE html>
<html>
    <head>
        <title>HERE Map</title>
        <meta name="viewport" charset="UTF-8" content="initial-scale=1.0, width=device-width" />
        <script type="text/javascript" src="https://js.api.here.com/v3/3.1/mapsjs-core.js"></script>
        <script type="text/javascript" src="https://js.api.here.com/v3/3.1/mapsjs-service.js"></script>
        <script type="text/javascript" src="https://js.api.here.com/v3/3.1/mapsjs-ui.js"></script>
        <script type="text/javascript" src="https://js.api.here.com/v3/3.1/mapsjs-mapevents.js"></script>
        <link rel="stylesheet" type="text/css" href="https://js.api.here.com/v3/3.1/mapsjs-ui.css"/>
    </head>
    <body>
      <div style="width: 100vw; height: 100vh" id="mapContainer"></div>
    </body>
    <script>
        var platform = new H.service.Platform({
            apikey: "HERE_API_KEY"
        });

		const lat = 52.5;
		const lng = 13.4;

        // Obtain the default map types from the platform object:
        var defaultLayers = platform.createDefaultLayers();

        // Your current position
        var myPosition = {lat: lat, lng: lng};

        // Instantiate (and display) a map object:
        var map = new H.Map(
            document.getElementById('mapContainer'),
            defaultLayers.vector.normal.map,
            {
                zoom: 11,
                center: myPosition
            });

        var ui = H.ui.UI.createDefault(map, defaultLayers, 'en-US');
        var mapEvents = new H.mapevents.MapEvents(map);
        var behavior = new H.mapevents.Behavior(mapEvents);

        const marker = new H.map.Marker({lat: lat, lng: lng});

        map.addObject(marker);

        marker.addEventListener('tap', function(evt) {

        // Create an info bubble object at a specific geographic location:
        var bubble = new H.ui.InfoBubble({ lng: lng, lat: lat }, {
                content: '<p>Golang</p>'
             });
        // Add info bubble to the UI:
        ui.addBubble(bubble);

    const marker = new H.map.Marker({lat: lat, lng: lng});
      map.addObject(marker);
  });
    </script>
</html>
Copy and paste above code in ‘map.html’. If you look at the code closely, you will notice a variable is missing value, namely ‘apikey’. You can acquire the API KEY from developer portal, all you need to do is sign up for a Freemium account.
The code uses HERE Maps API. The detailed explanation and information on above code can be found here. You can check the front end by opening ‘map.html’ in a browser.
Working on Go Web Server
We need to open the map.html file with Go As a web application, and for that we need to have a web server. Go language lets you create a web server. The best and the quickest way to get started is with net/http package. With few lines of code, you can build a Go web server.
package main

import (
    "fmt"
    "net/http"
)

func MapPage(w http.ResponseWriter, r *http.Request) {
    fmt.Fprintf(w, "HERE Map")
}

func main() {
    http.HandleFunc("/", MapPage)
    http.ListenAndServe(":8080", nil)
}
Save the above code as “server.go” and type ‘go run server.go’ in terminal or command prompt to start the server. Once the server is running, open web browser and navigate to the address “localhost:8080” and you will see “HERE Map”.
Till now, we have not passed the HTML file to Go server code. Let us do that.
package main

import (
    "html/template"
    "log"
    "net/http"
)

func MapPage(w http.ResponseWriter, r *http.Request) {
    // fmt.Fprintf(w, "HERE Map")

    t, err := template.ParseFiles("map.html")
    if err != nil {
        log.Print("template parsing error: ", err)
    }
    err = t.Execute(w, nil)
    if err != nil {
        log.Print("template executing error: ", err)
    }
}

func main() {
    http.HandleFunc("/", MapPage)
    http.ListenAndServe(":8080", nil)
}
In the above code, make sure you comment “fmt.Fprintf(w, "HERE Map")” or else you won't be able to see the map. You will also notice we have html/template package in the import, it allows us to interact with our HTML file. We also have log package for logging any error we may encounter. We have also handled any possible error (either because of template parsing or execution) in the MapPage function.
Running the Application
To run the code, type and enter ‘go run server.go’ in the terminal or command prompt.
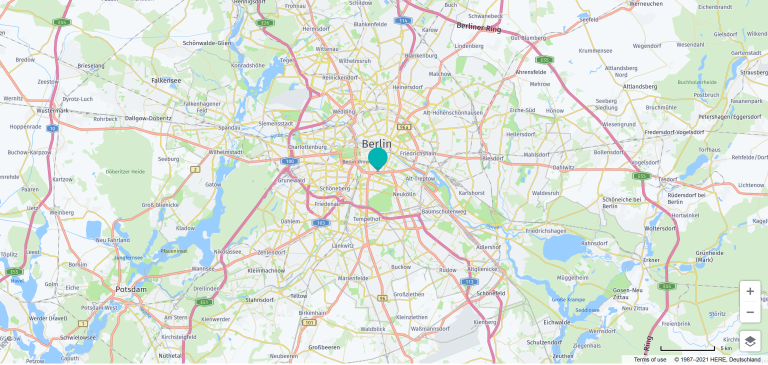
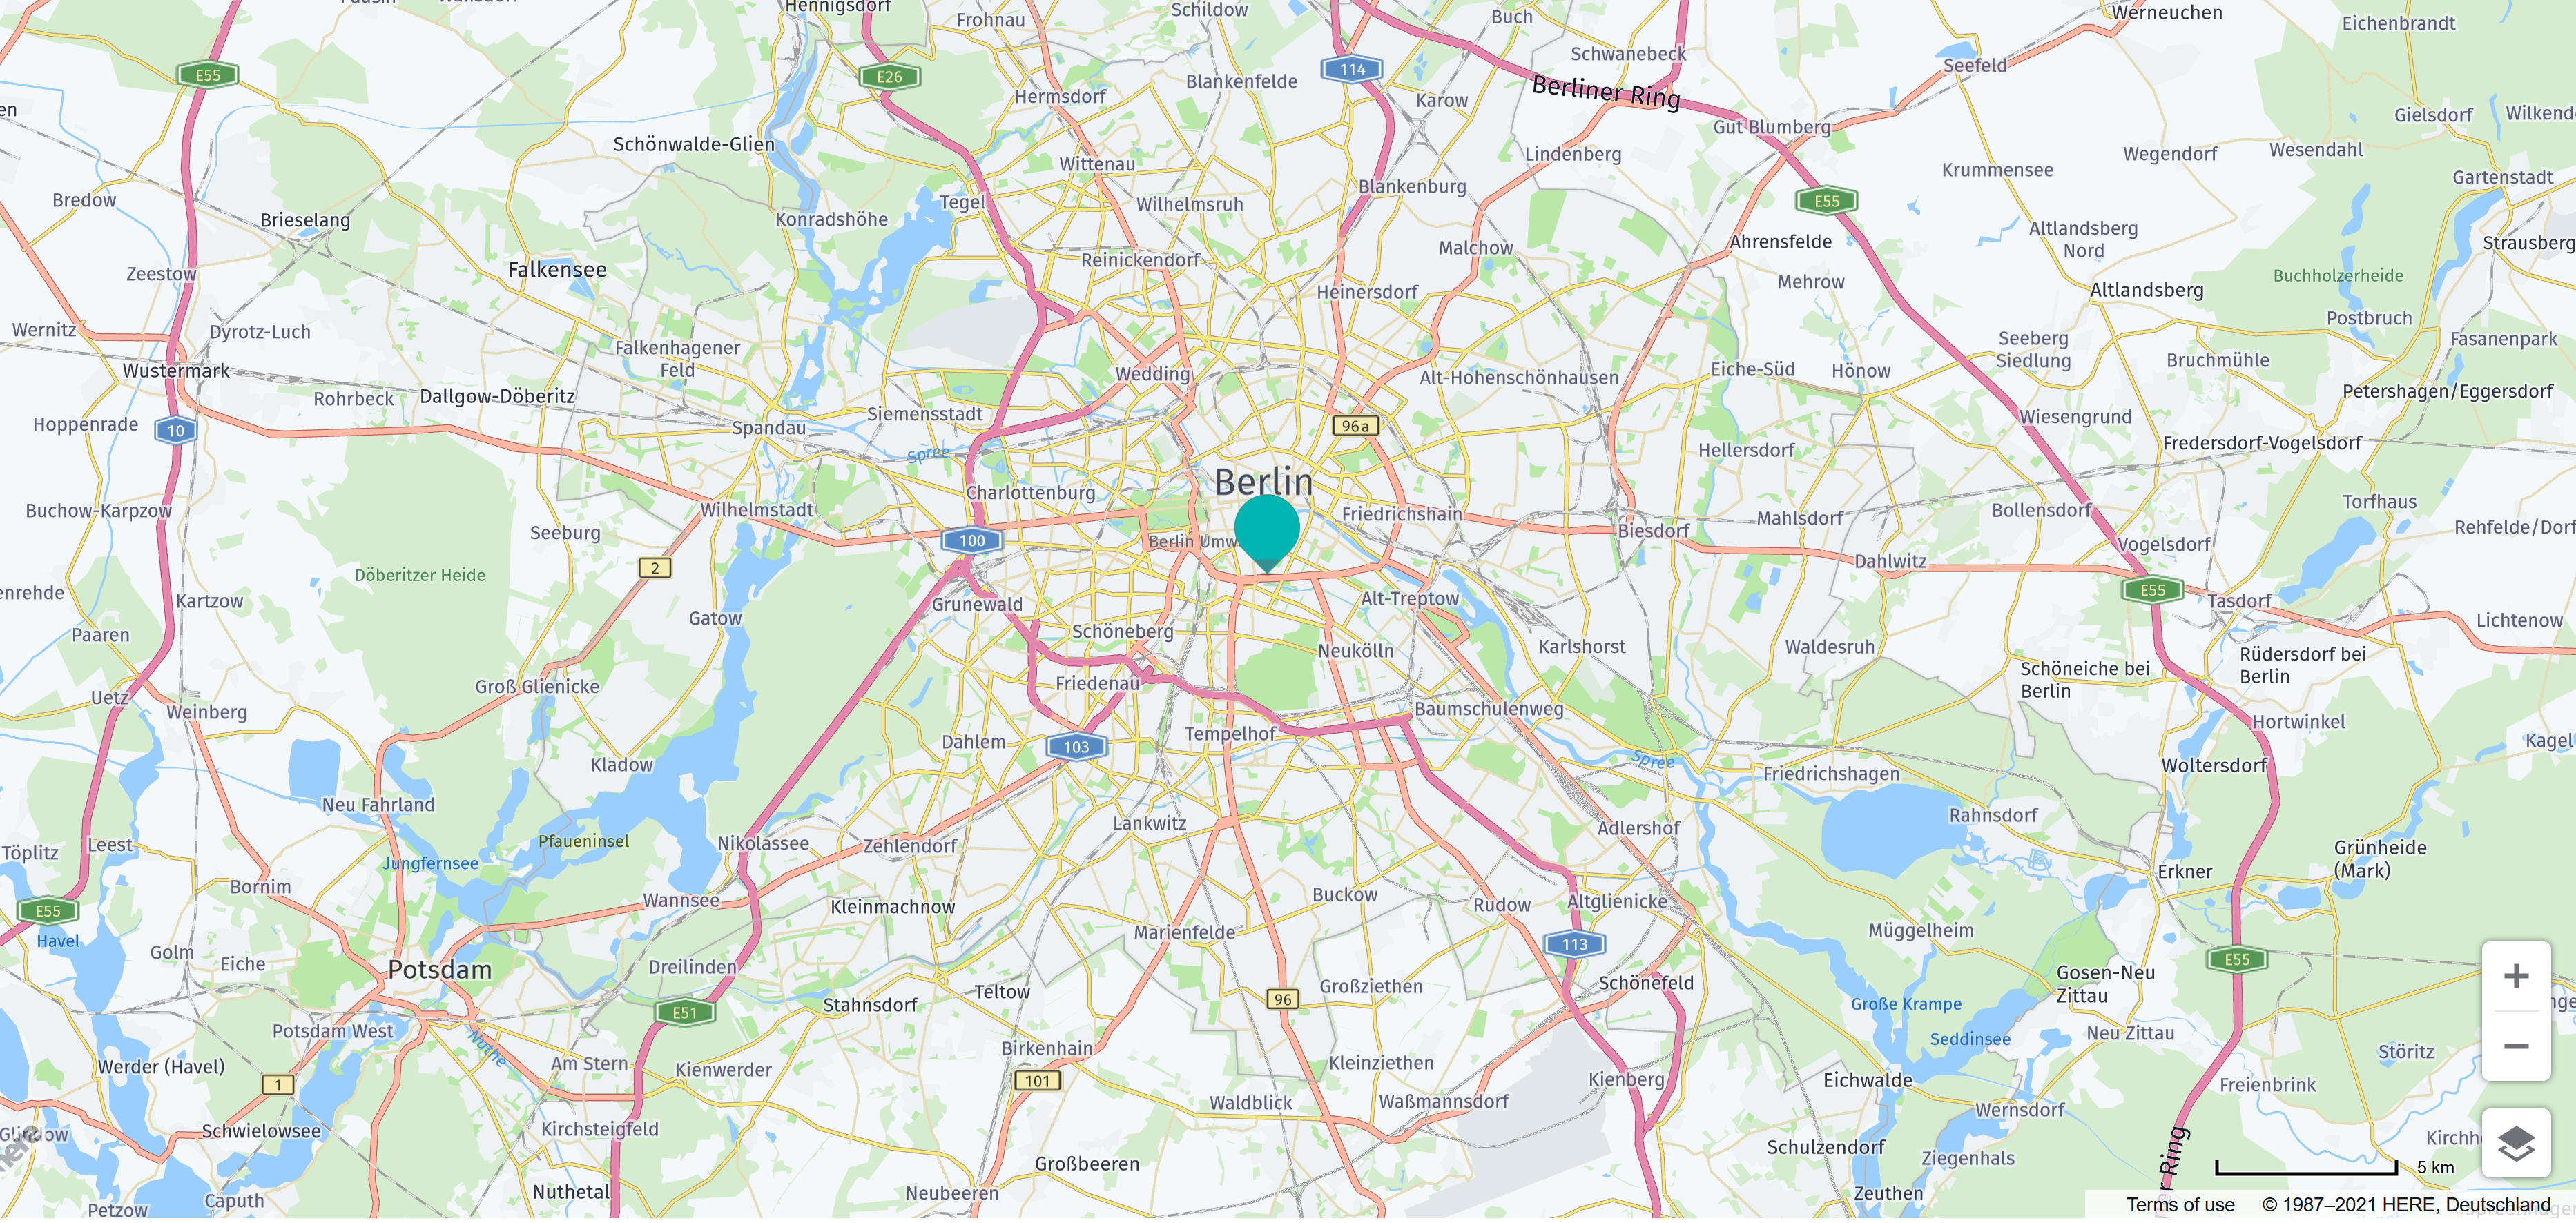
When server.go is executed and we navigate to localhost:8080 in the browser, the page displays a map with a marker. And if any error occurs it will be logged.

Sign up for our newsletter
Why sign up:
- Latest offers and discounts
- Tailored content delivered weekly
- Exclusive events
- One click to unsubscribe