Render HERE Map in IBM Node RED - Part 2

This is the second blog post about rendering a map in IBM Node RED. In part one, we created a Node RED application on IBM Cloud. Now lets learn how to integrate a HERE Map in a few simple steps.
Prerequisites
The requirement is same as for part 1:
Creating a Flow
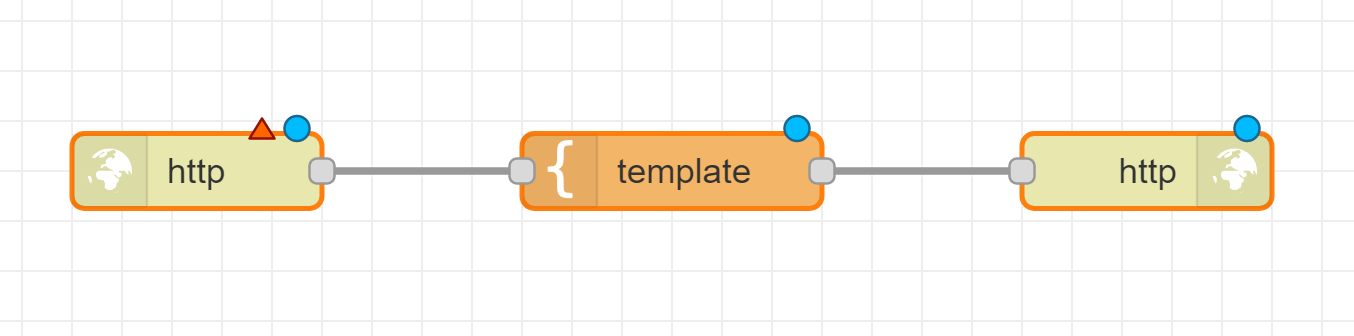
To show a map we need to create a flow containing three nodes connected to each other. A node is a basic building block of a flow. A node can be triggered by previous node in a flow or by an external event (like an incoming HTTP request).
You can find nodes on the left of your Node RED editor on the browser, called as Node palette.
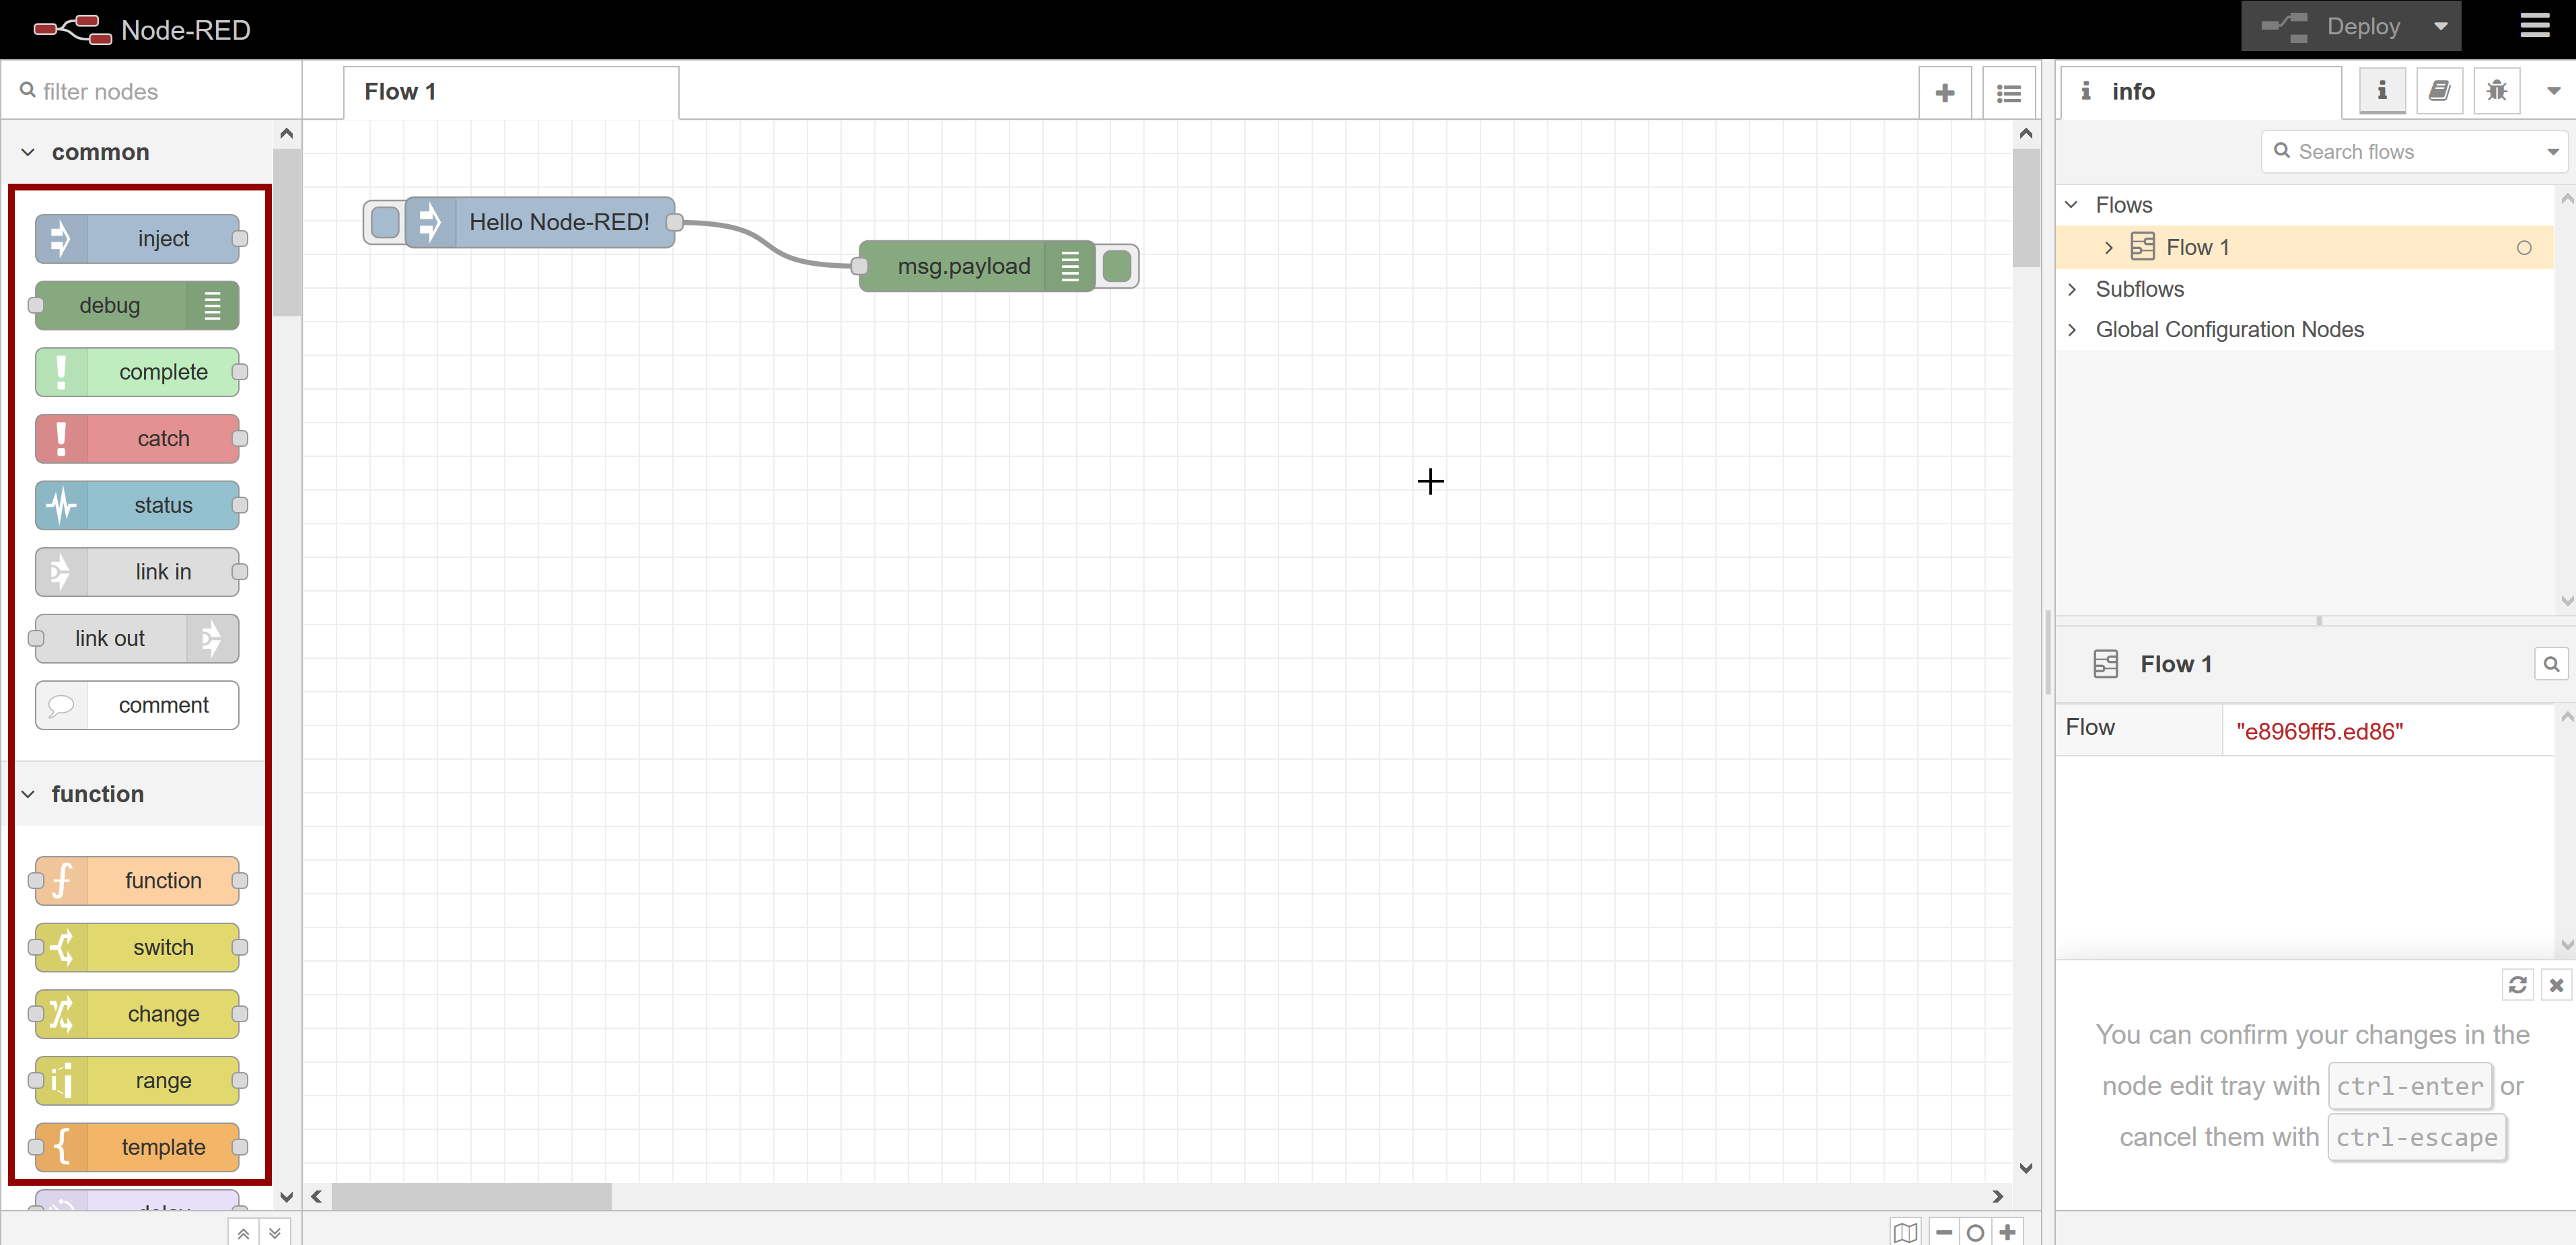
The three nodes required are:
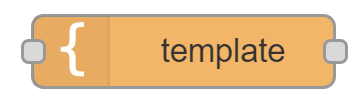
- template
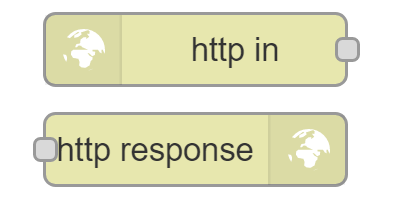
- http in
- http response
You can get more information here on the nodes used.
Next, you need to drag and drop all three nodes on the main workspace.
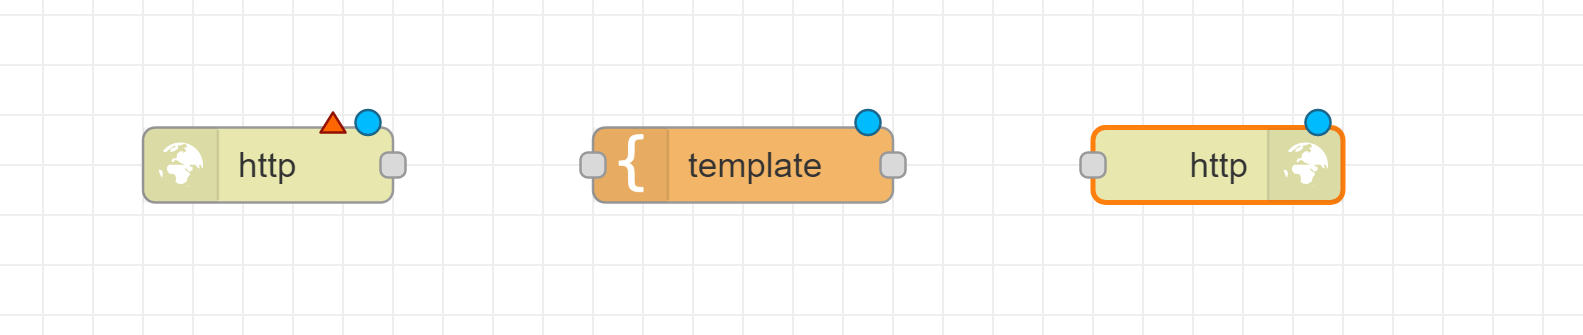
And connect them to create a flow.
Editing Nodes
Once the flow is complete, next thing is to edit the nodes as per our requirement. And what we require is to show a map in a new URL. First, we will edit the "http in" node.
Double click on the node to open the node editor.
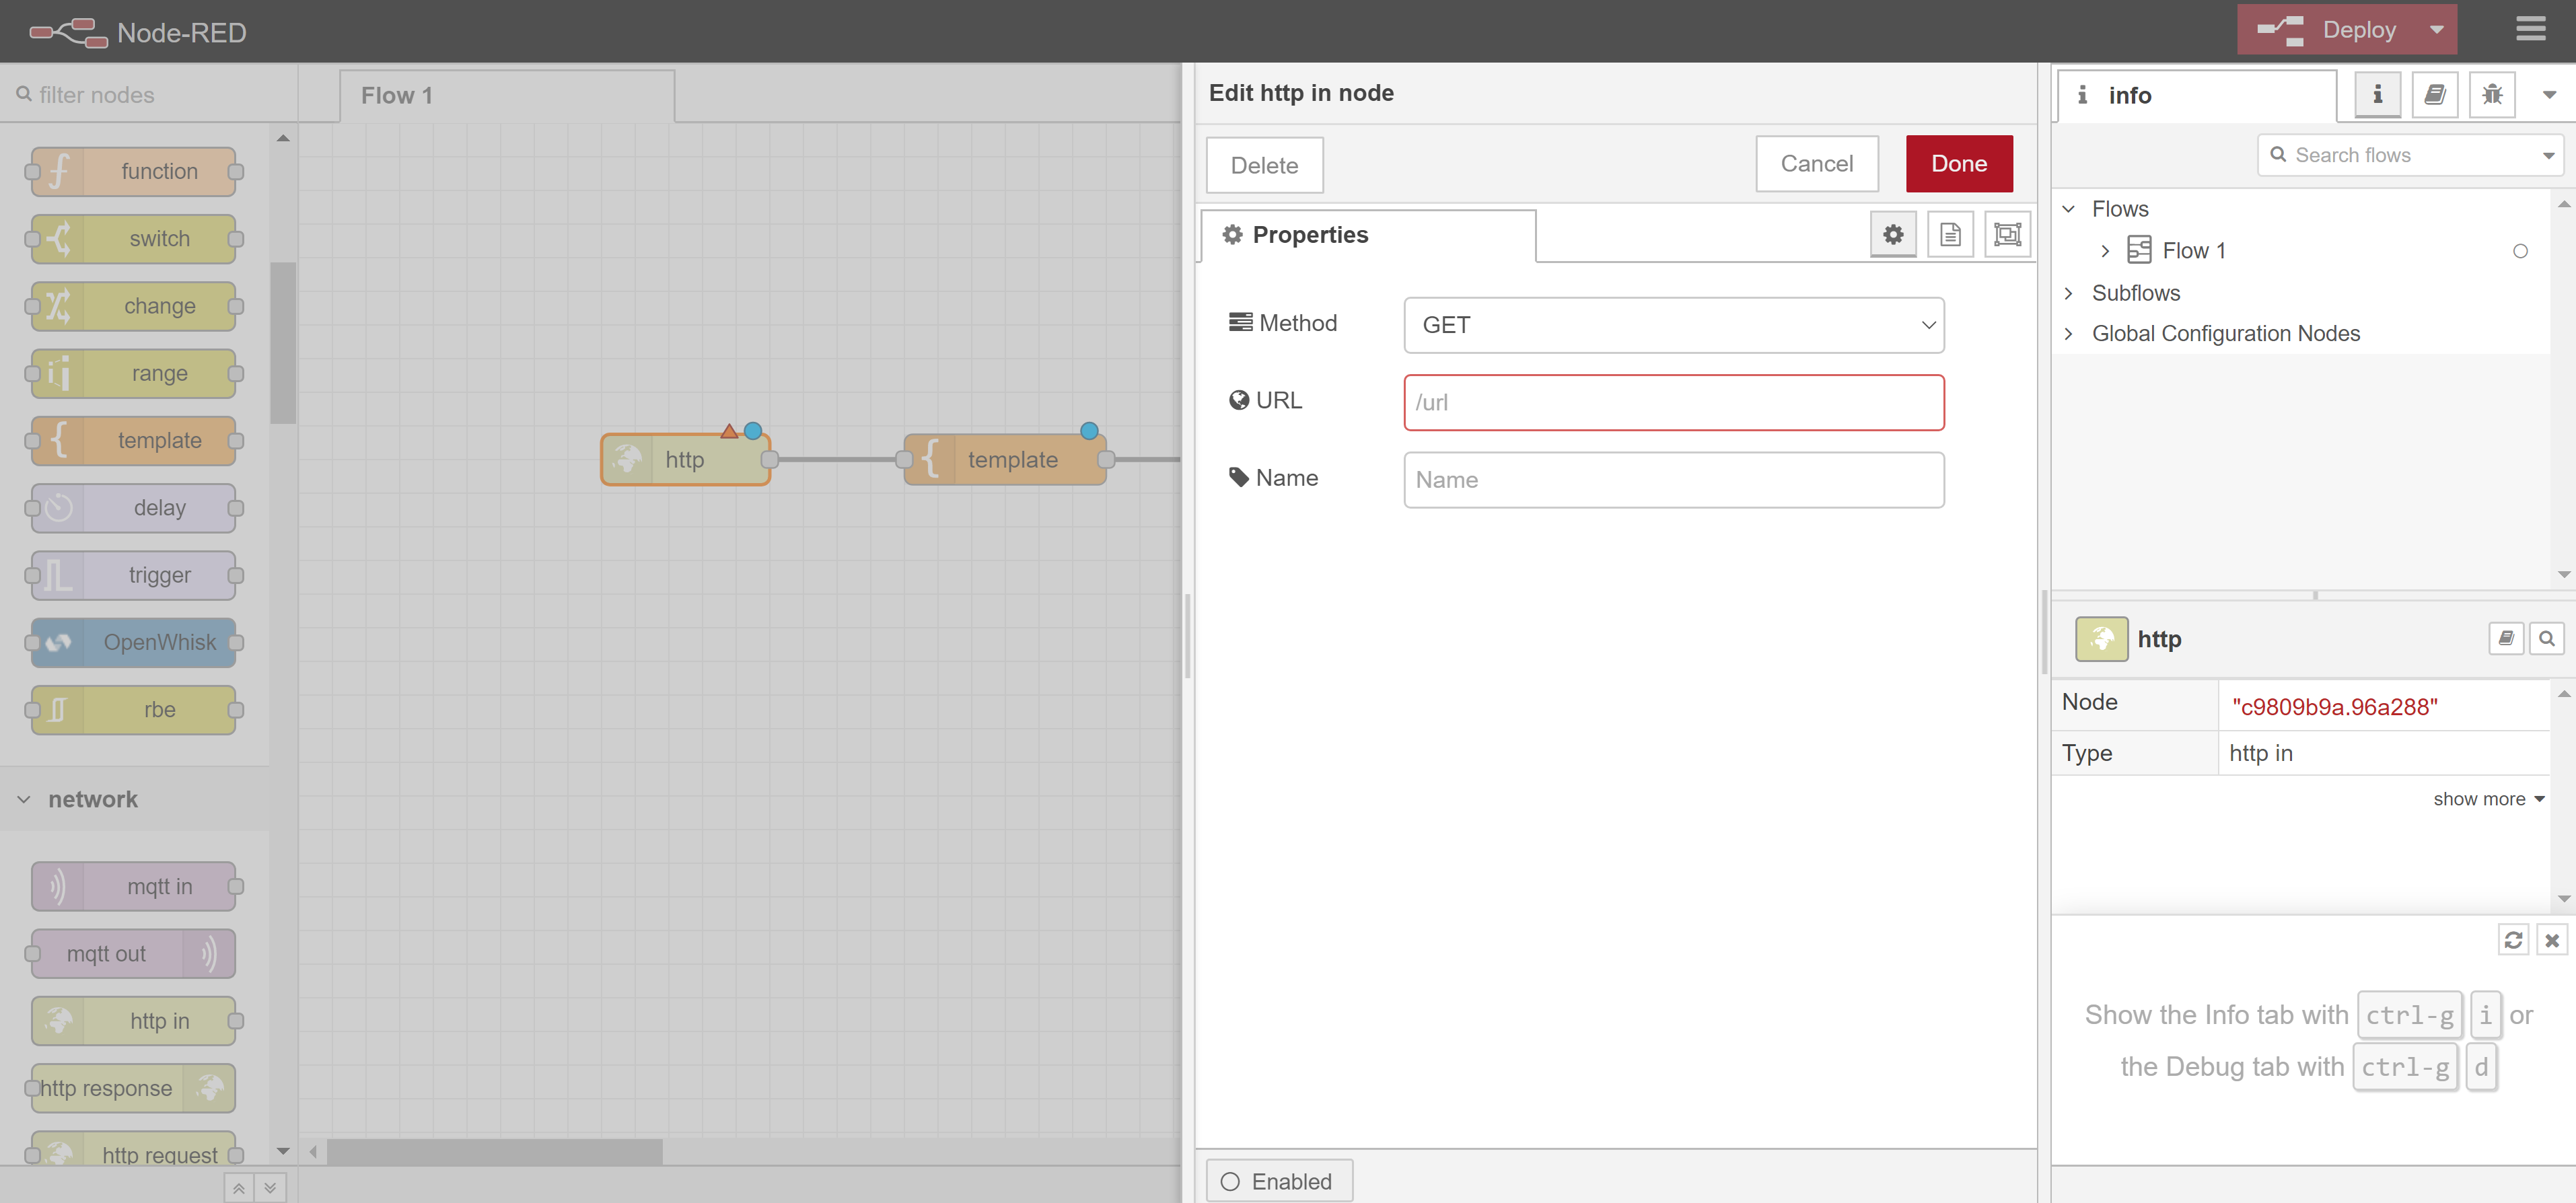
Under properties in the URL edit box, write "/map"
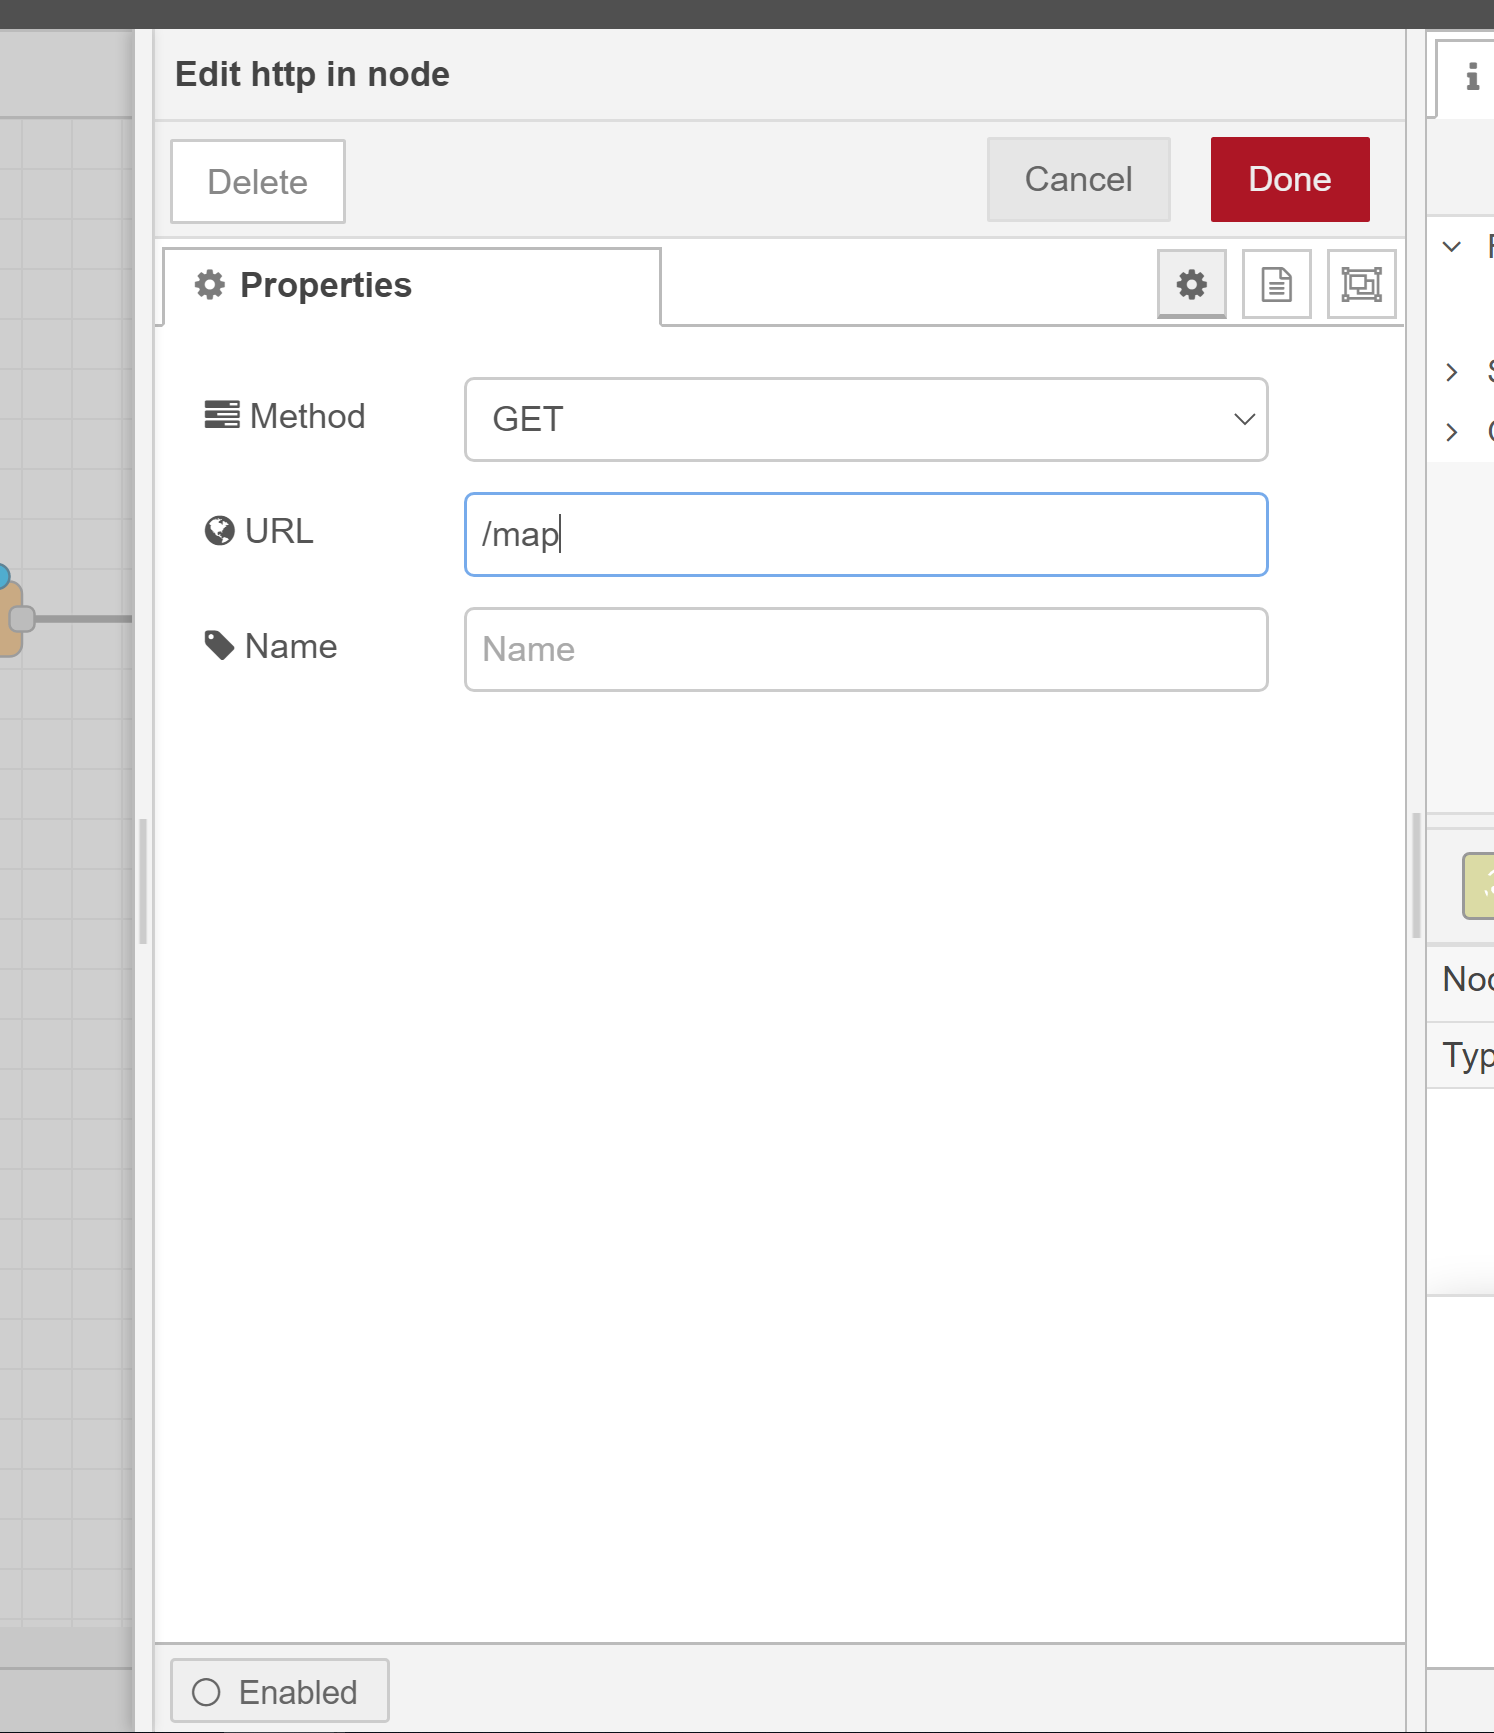
After you have made the changes, click on "Done". This will result in a change in your nodes.

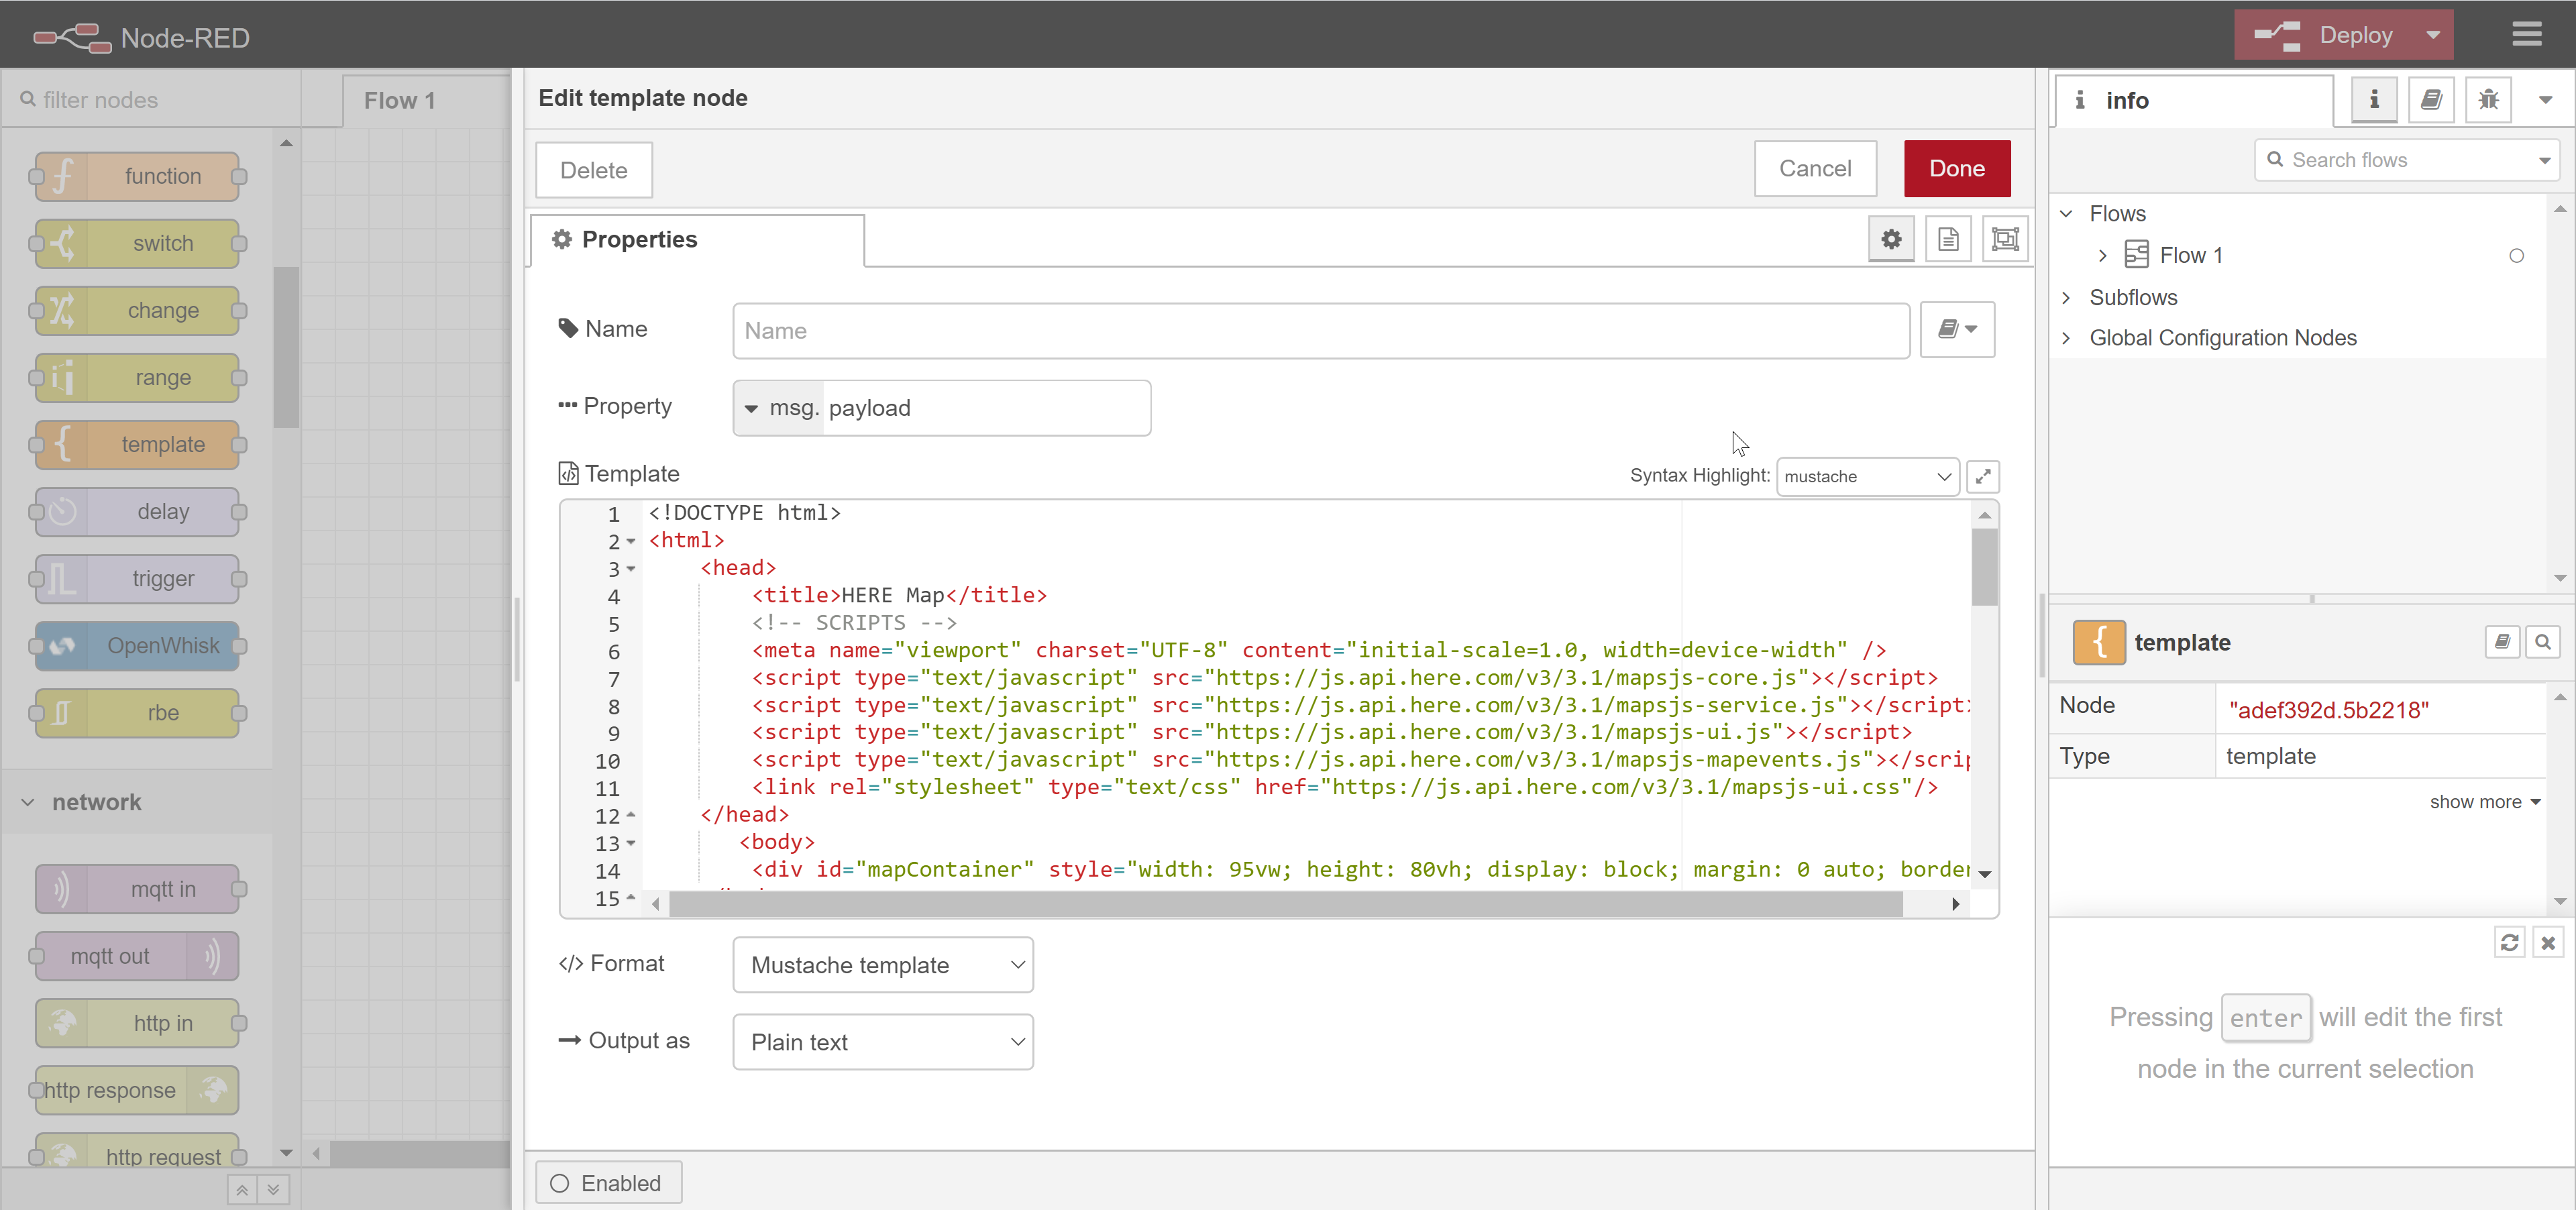
Similarly, we need to edit the template node and paste the following code into it
<!DOCTYPE html>
<html>
    <head>
        <title>HERE Map</title>

        <meta name="viewport" charset="UTF-8" content="initial-scale=1.0, width=device-width" />
        <script type="text/javascript" src="https://js.api.here.com/v3/3.1/mapsjs-core.js"></script>
        <script type="text/javascript" src="https://js.api.here.com/v3/3.1/mapsjs-service.js"></script>
        <script type="text/javascript" src="https://js.api.here.com/v3/3.1/mapsjs-ui.js"></script>
        <script type="text/javascript" src="https://js.api.here.com/v3/3.1/mapsjs-mapevents.js"></script>
        <link rel="stylesheet" type="text/css" href="https://js.api.here.com/v3/3.1/mapsjs-ui.css"/>
    </head>
    <body>
        <div id="mapContainer" style="width: 95vw; height: 80vh; display: block; margin: 0 auto; border: solid 2px black; margin-top: 10px;"> </div>
    </body>
    <script>
        var platform = new H.service.Platform({
            apikey: "JS_API_KEY"
        });

		const lat = 12.95677;
		const lng = 77.73164;

		// Obtain the default map types from the platform object:
        var defaultLayers = platform.createDefaultLayers();

        // Your current position
        var myPosition = {lat: lat, lng: lng};

        // Instantiate (and display) a map object:
        var map = new H.Map(
            document.getElementById('mapContainer'),
            defaultLayers.vector.normal.map,
            {
                zoom: 14,
                center: myPosition
            });

        var ui = H.ui.UI.createDefault(map, defaultLayers, 'en-US');
        var mapEvents = new H.mapevents.MapEvents(map);
        var behavior = new H.mapevents.Behavior(mapEvents);

		const marker = new H.map.Marker({lat: lat, lng: lng});

		map.addObject(marker);

		marker.addEventListener('tap', function(evt) {

		// Create an info bubble object at a specific geographic location:
		var bubble = new H.ui.InfoBubble({ lng: lng, lat: lat }, {
                content: '<p> "Hi!!"</p>'
             });

		// Add info bubble to the UI:
		ui.addBubble(bubble);
		});

	</script>

</html>
In the above code, you will need to replace "JS_API_KEY" with the API key you acquired from HERE Developer portal. To know how to acquire the API key, check this video out.
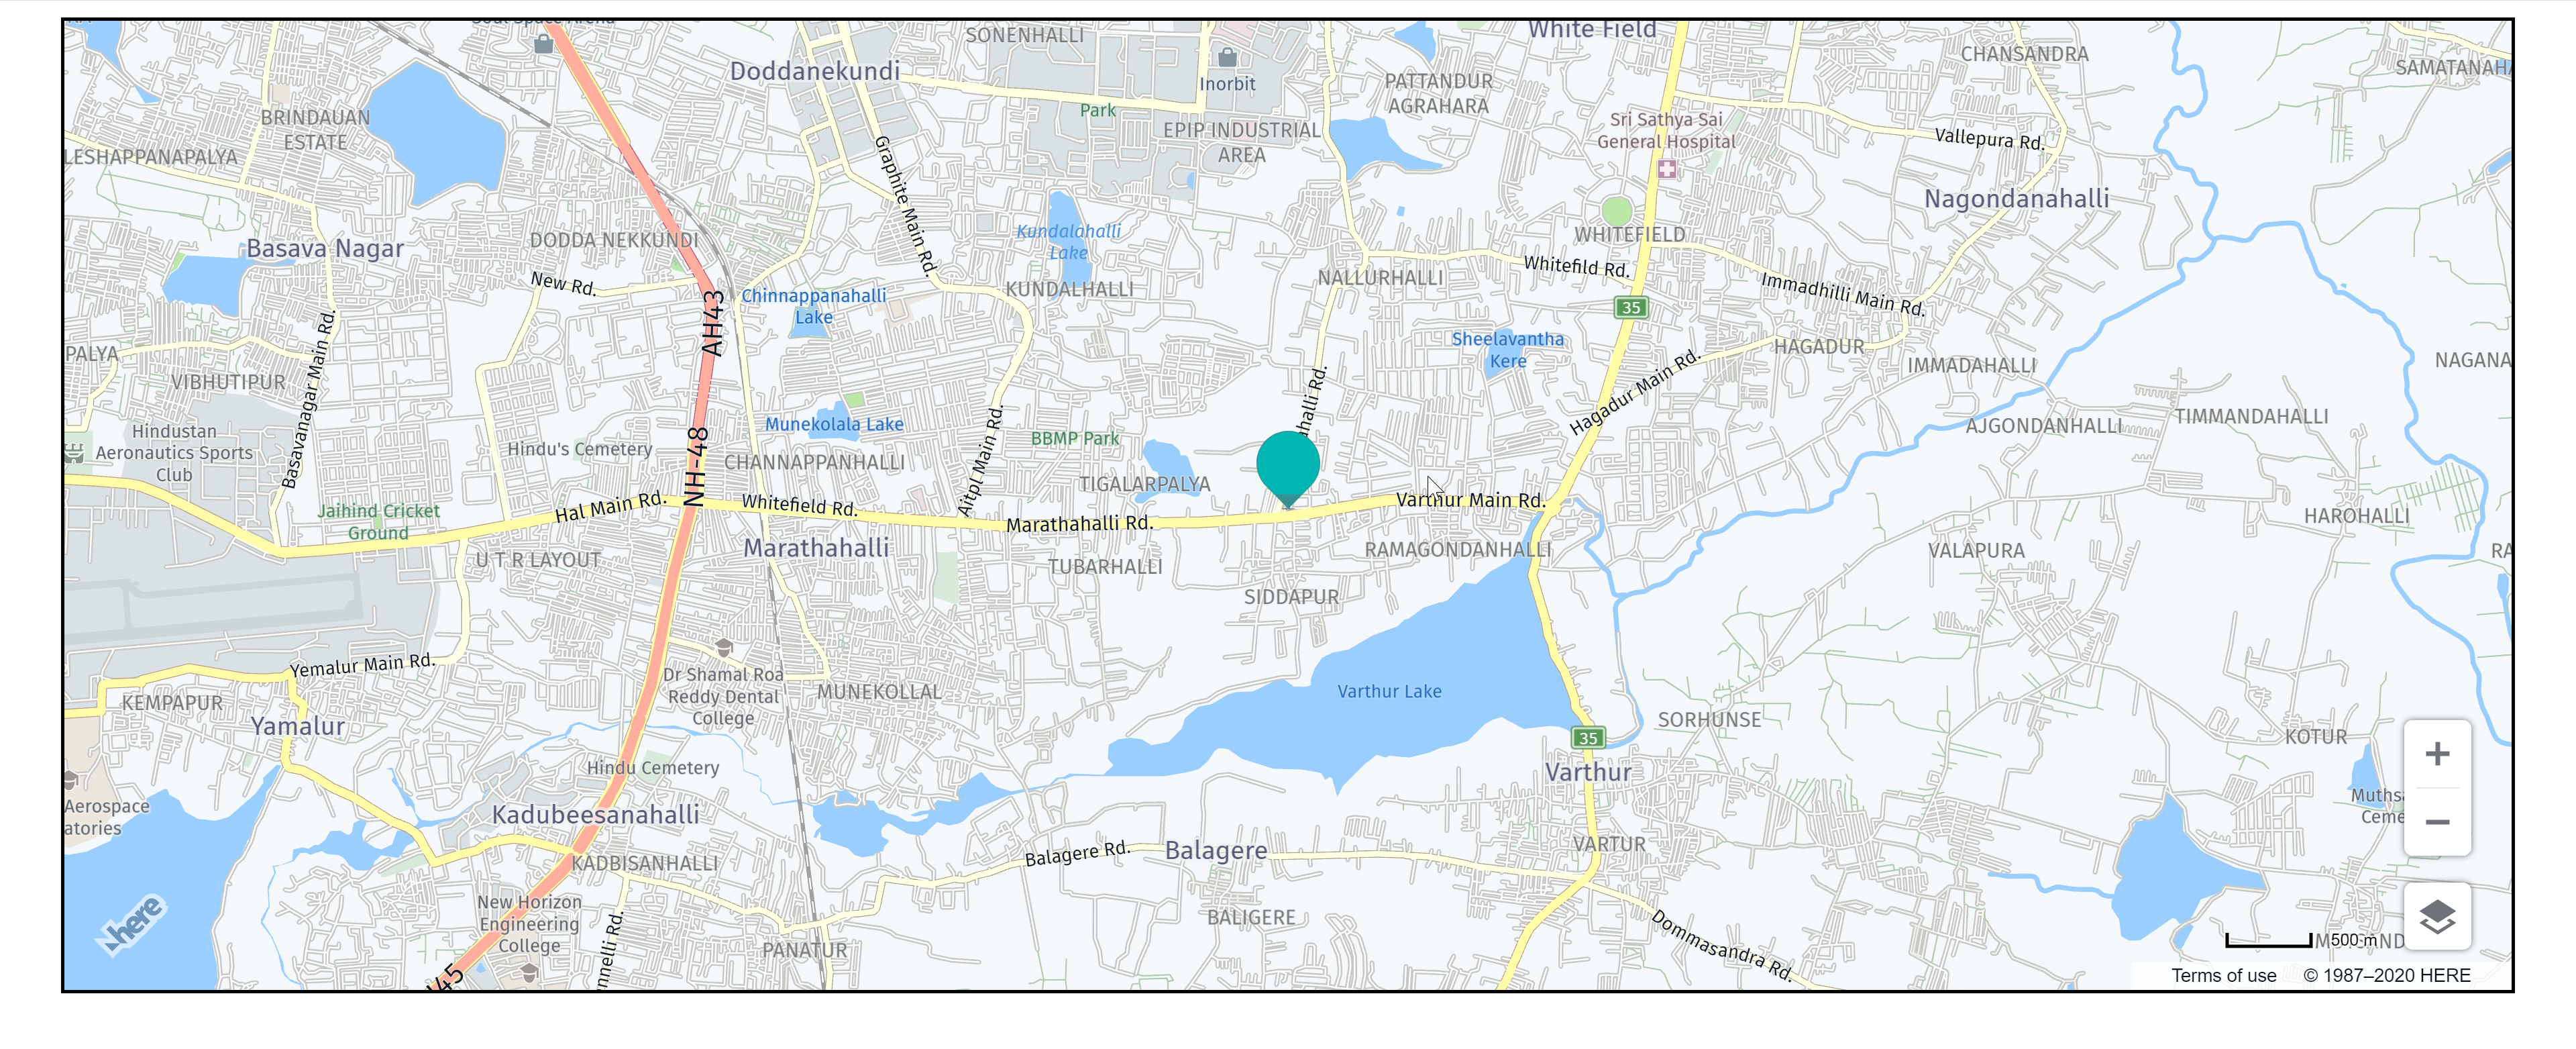
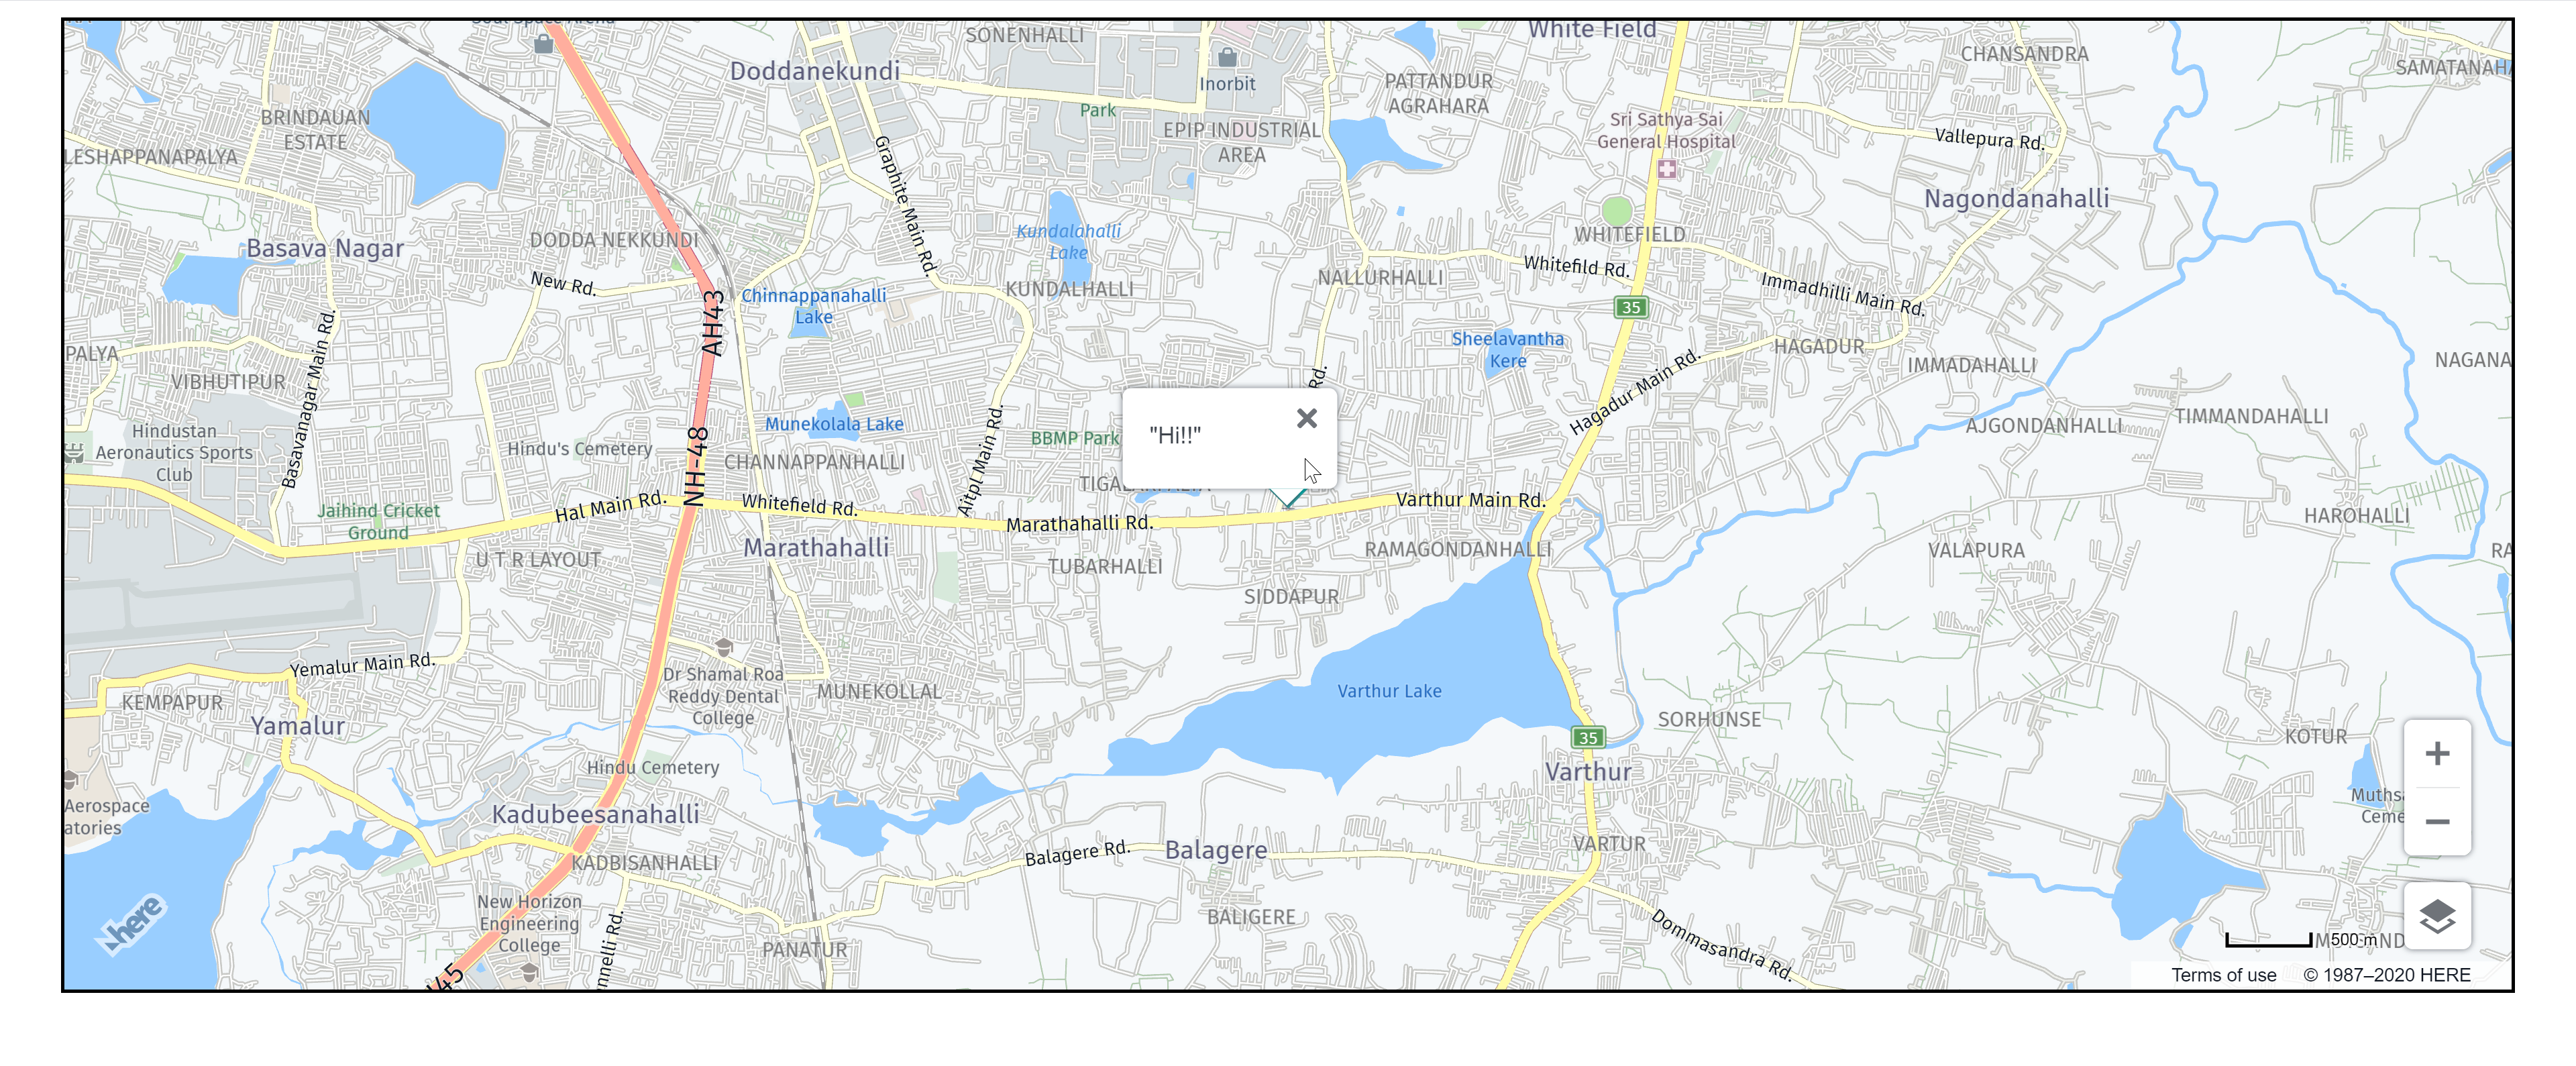
You must be wondering, what does this code do! It shows a location in Bangalore India(12.95677,77.73164) on a map as a marker. The marker is clickable, when you click, it pops open a information bubble which says 'Hi!!'. You can change the location of the marker and test value of the information bubble according to your requirement.
Next, replace
"This is the payload: {{payload}} !"
with our new code and click on "Done" button
Showing the Map
To show the map, you first need to deploy the app on the server. This can be done by clicking on "Deploy" button on the top right of your node RED editor.
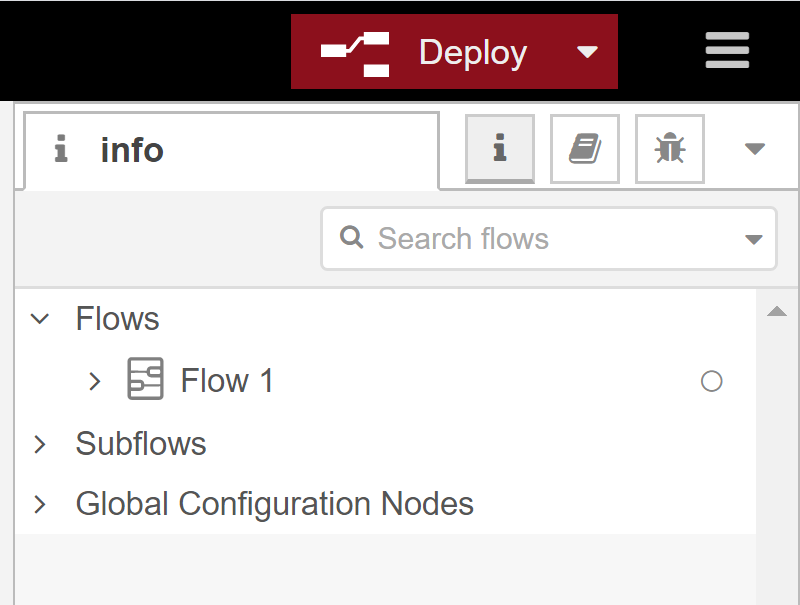
After few seconds, on clicking "Deploy", it should show a "Successfully Deployed" message in the middle top of the node RED editor.
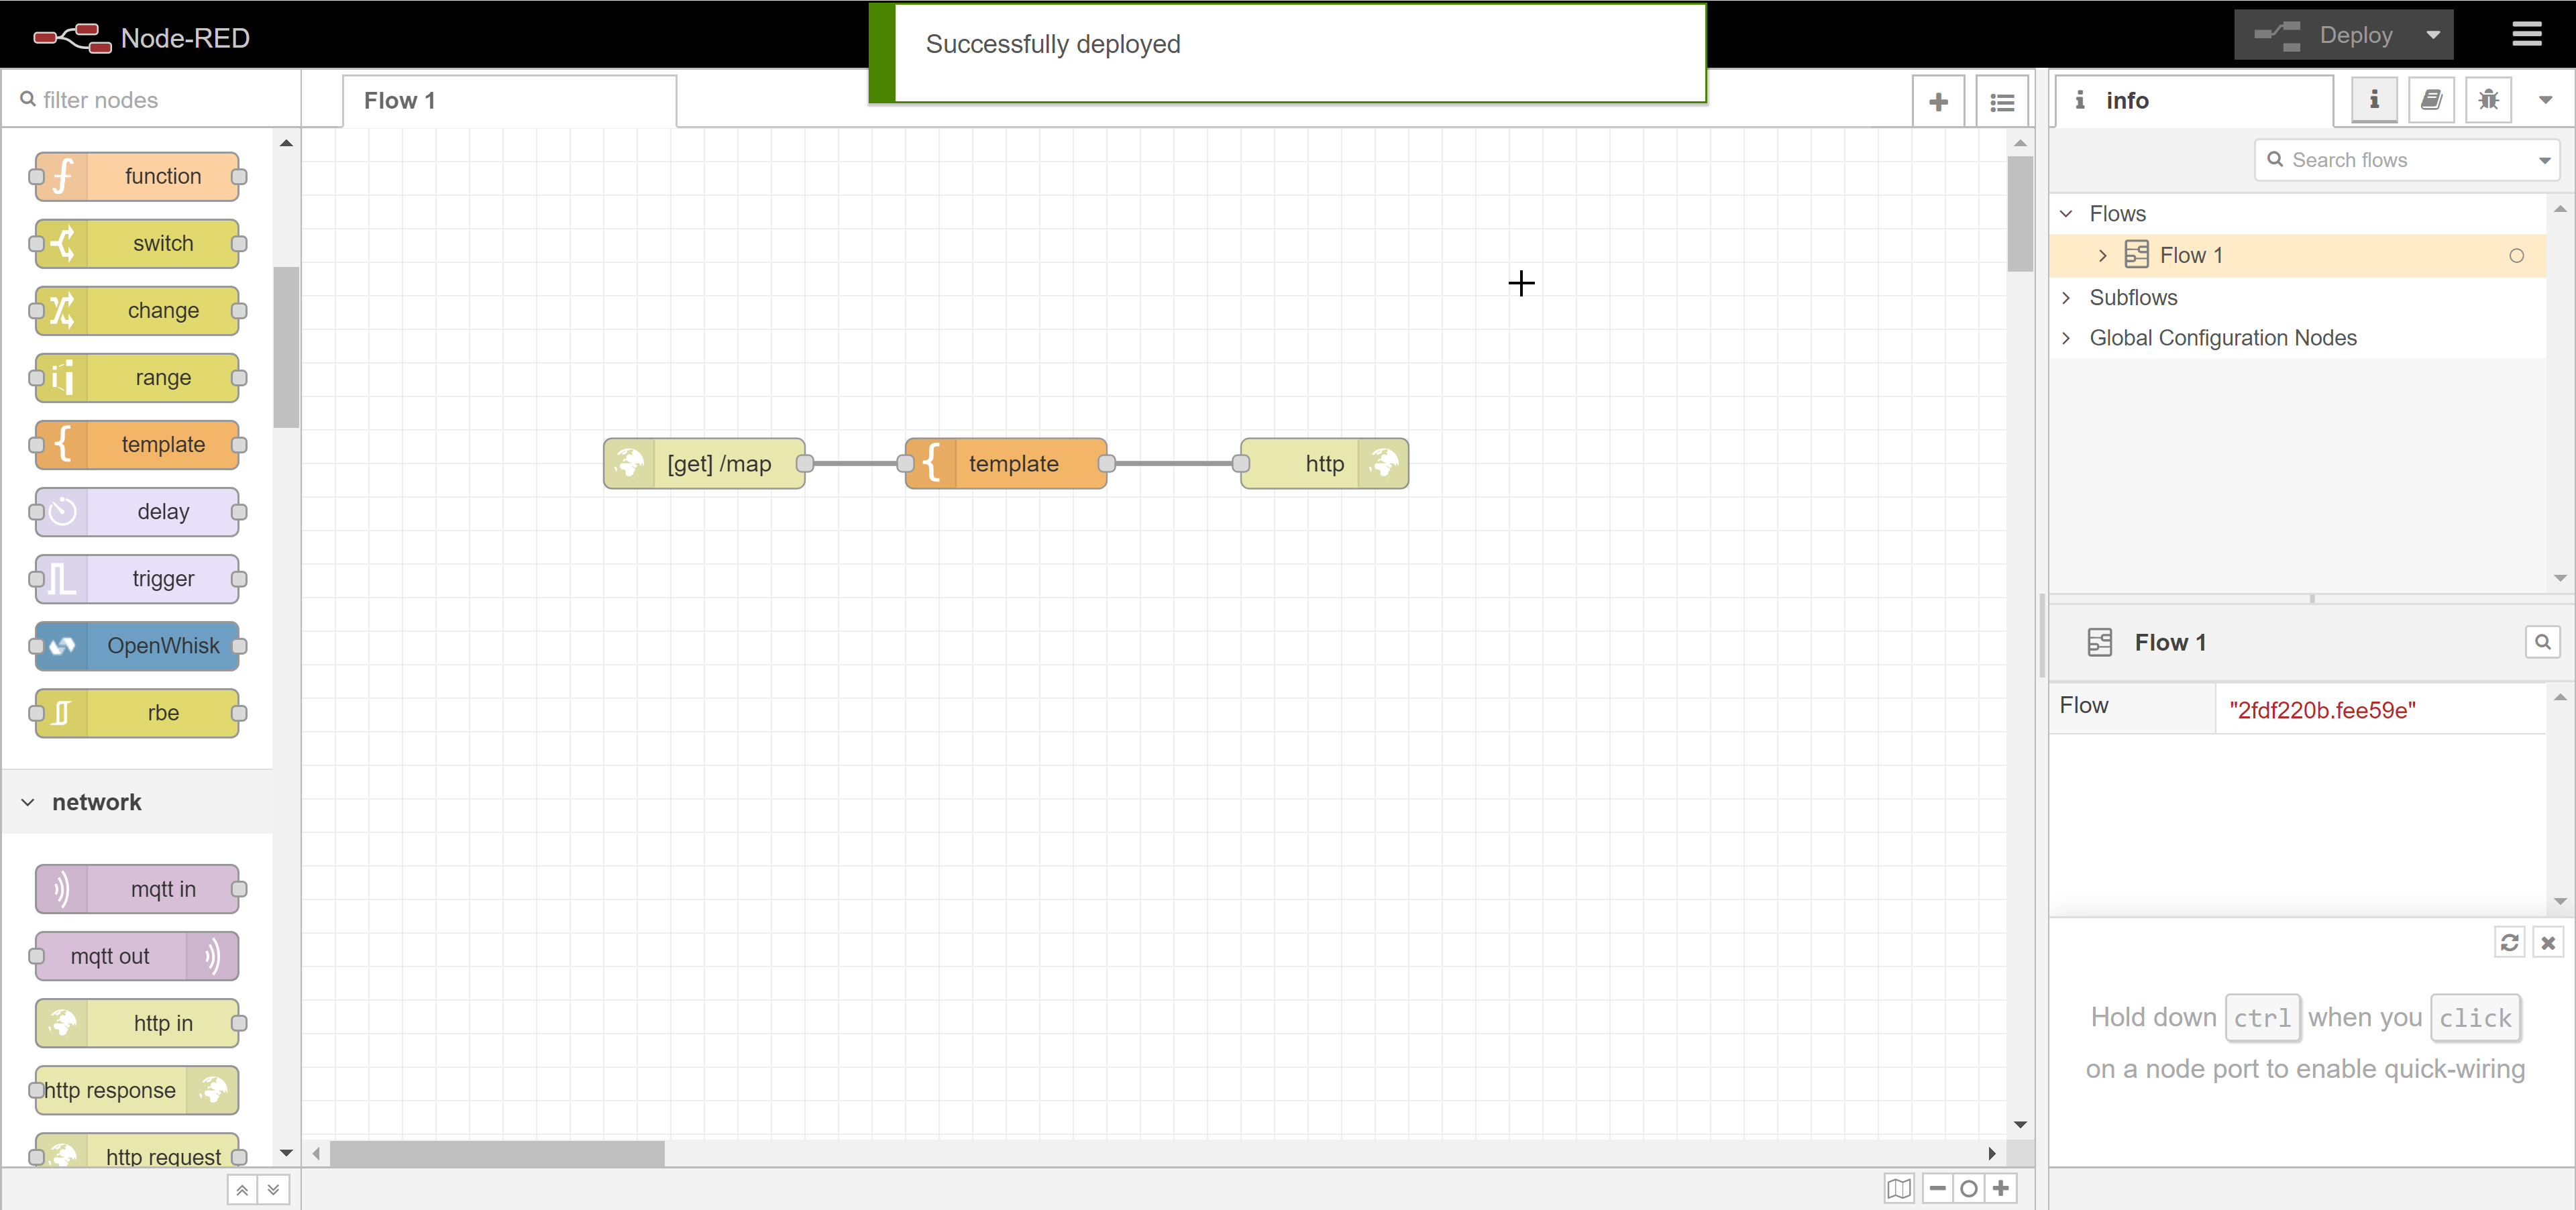
Congratulations! You have successfully deployed the application on server.
To see the map, copy the address from the browser, it would look something like this:
https://APP_NAME.eu-gb.mybluemix.net/red/#flow/2fdf220b.fee59e
Copy the following part:
https://APP_NAME.eu-gb.mybluemix.net/
and add 'map' at the end of it(because we mentioned '/map' in 'http in' node earlier)
https://APP_NAME.eu-gb.mybluemix.net/map
Open the URL in a new browser window, and you will have your map!
The marker on the map is clickable
Conclusion
The node RED is a powerful prototyping tool used a lot in Internet of Things and combining it with location capabilities of HERE Technologies opens a new dimension. We learned how to show a map in a browser using node RED in few simple steps. You can build different use cases combining the node RED and HERE Maps. We will dive deeper into it. Meanwhile, keep learning!

Sign up for our newsletter
Why sign up:
- Latest offers and discounts
- Tailored content delivered weekly
- Exclusive events
- One click to unsubscribe