Render HERE Map in IBM Node RED - Part 1

Prototyping plays a big role in Internet of Things, where you would want to try out combination of different components before creating a product. One of the best most popular tools for prototyping is Node RED by IBM and it works wonders when combined with Location Services.
Node RED is a flow-based development tool for visual programming developed originally by IBM for wiring together hardware devices, APIs and online services as part of the Internet of Things.
Below, I will show you how to set up get started in Node RED with HERE Maps. Let’s get started.
Prerequisites
To start with Node RED and integrate HERE map, you will need –
From IBM Cloud, you need to access Node RED and create a Node RED application.
You will also need an API key from the HERE Developer Portal (which we will use in the code). Simply sign up for your free account and generate API key on your account page.
Creating Node RED Application
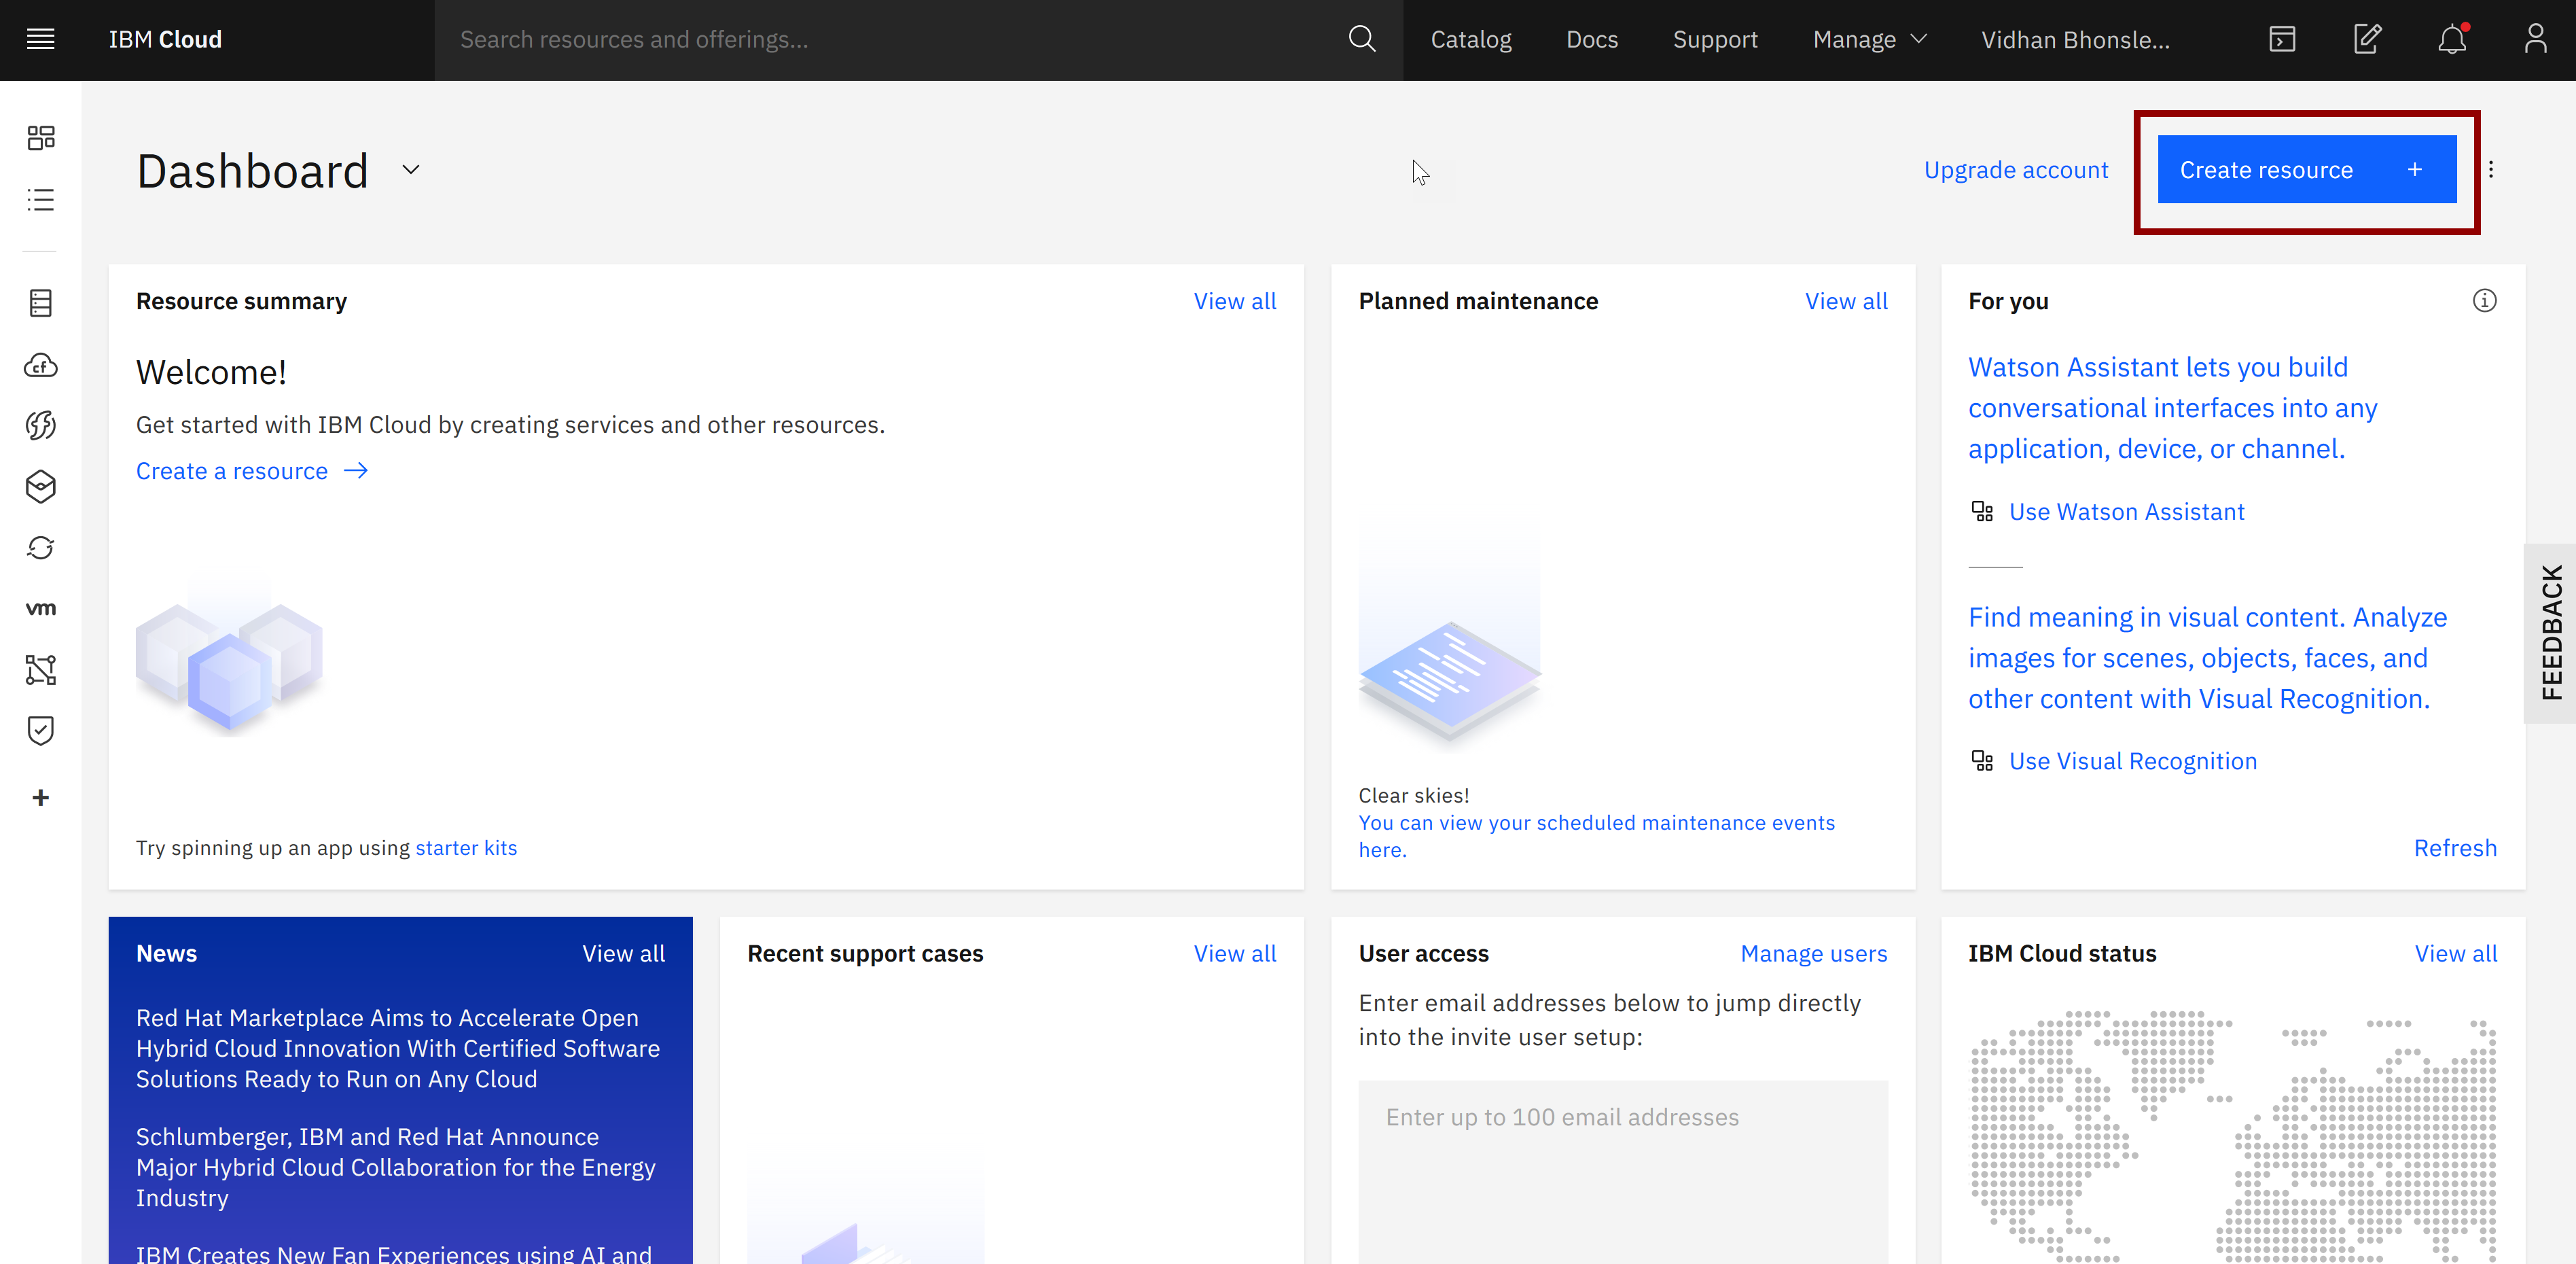
After logging into your IBM Cloud account, you will be on the dashboard page. You need to create a service by clicking on 'Create resource' (as shown in the image below).
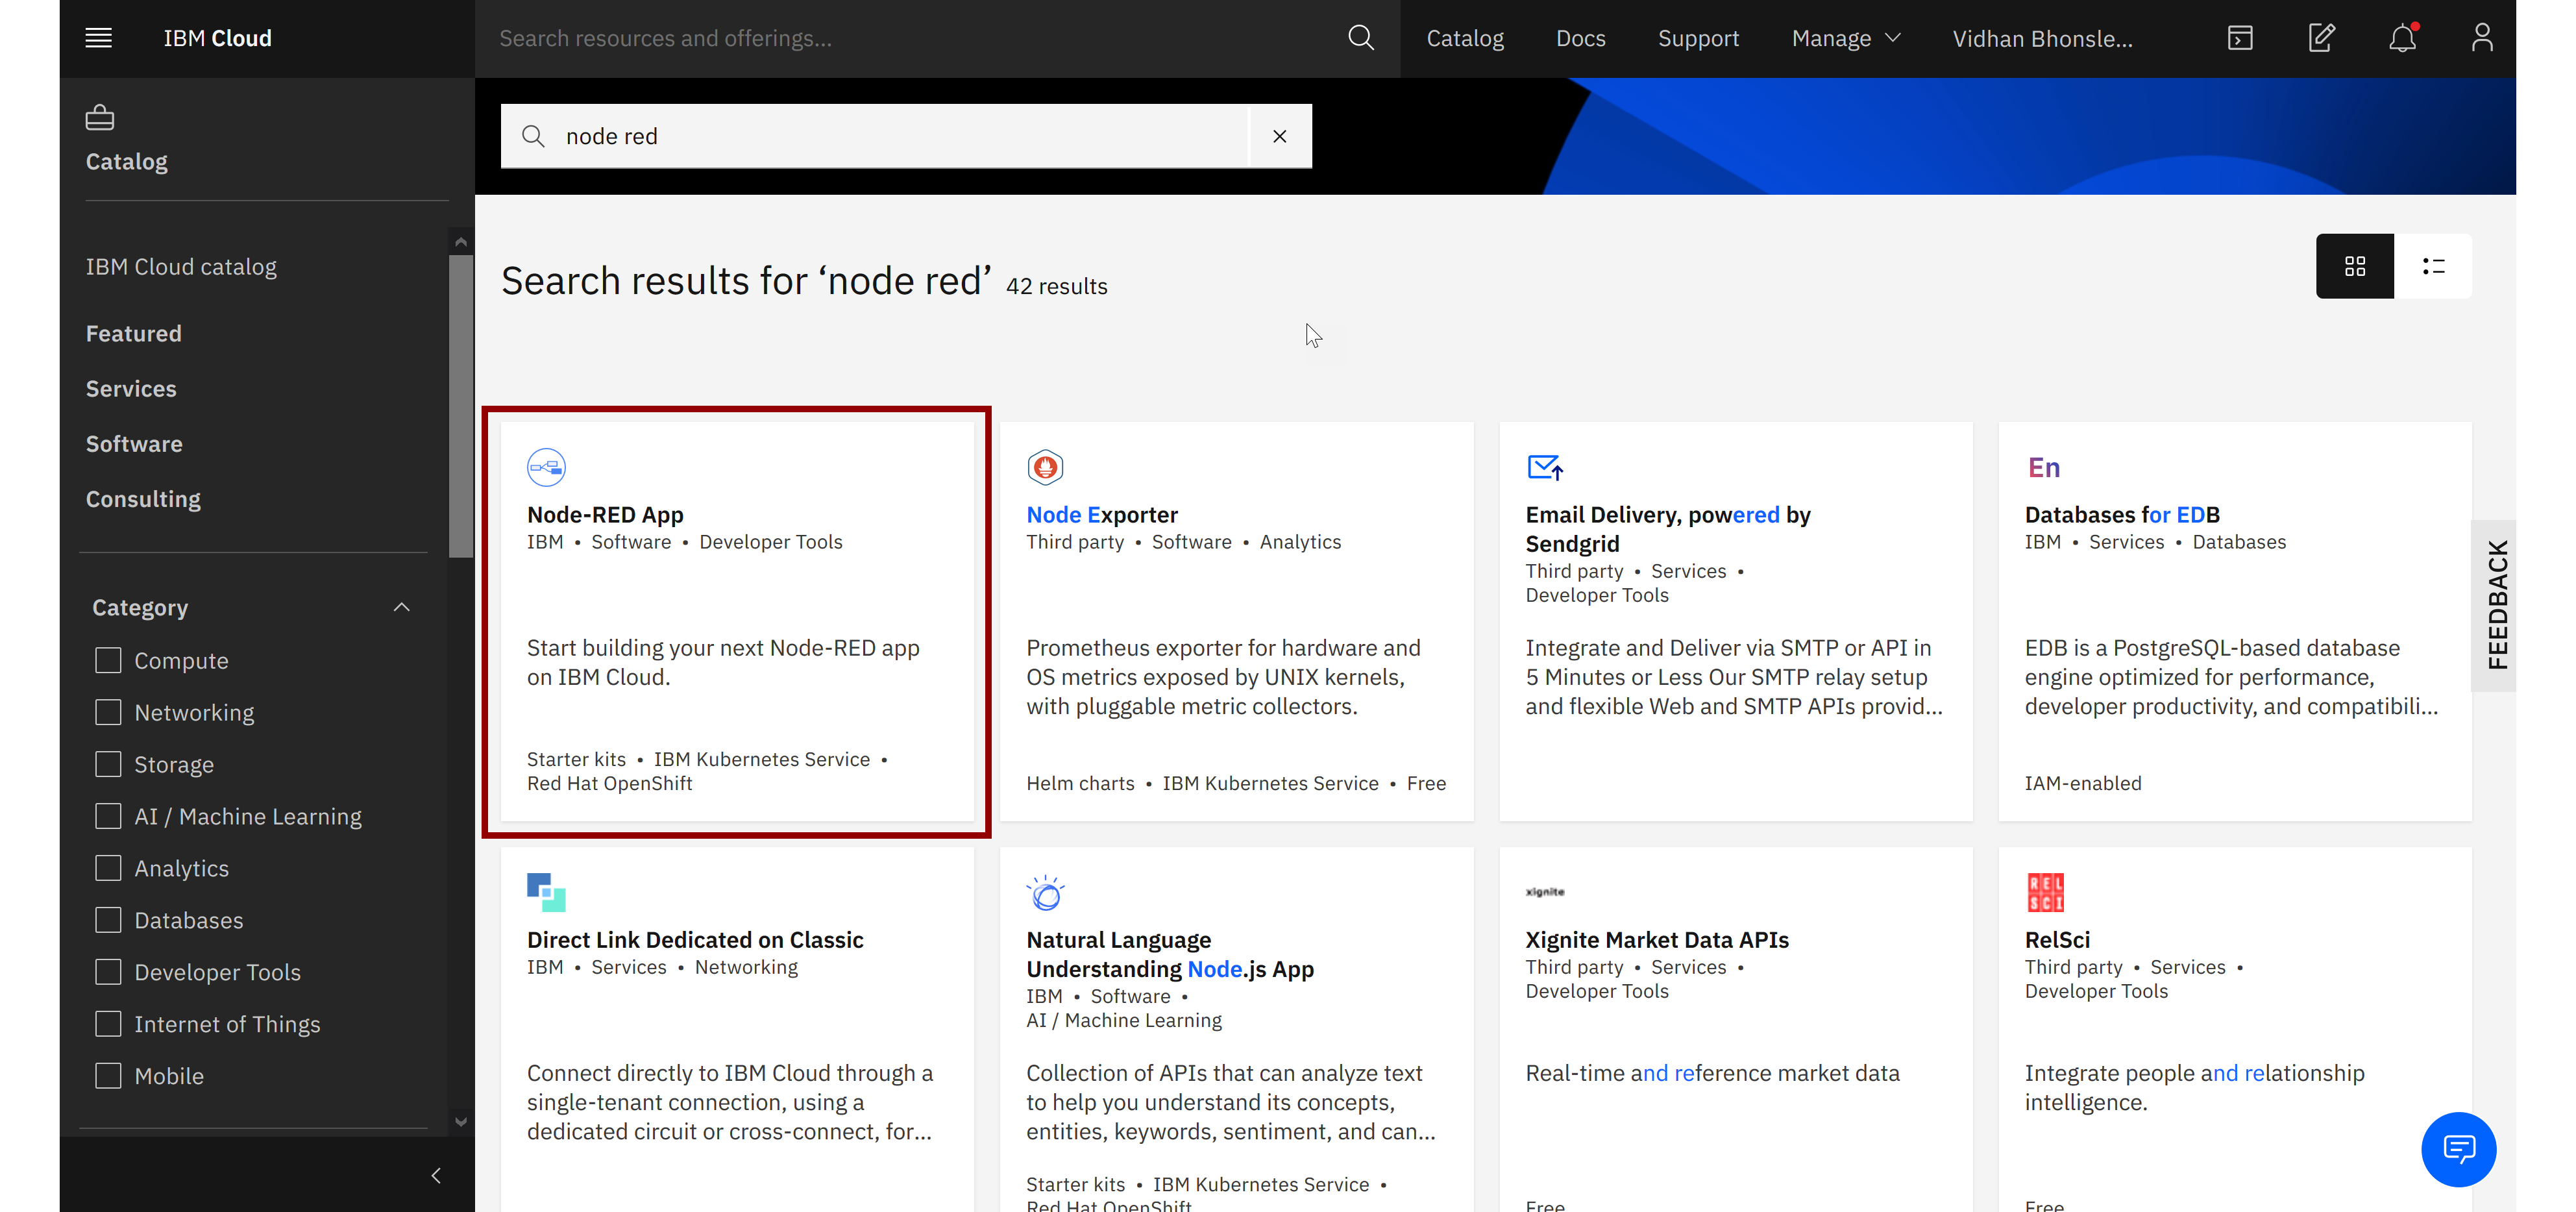
This will take you to the IBM Product Catalog page. There, search for 'Node RED' (as shown below) and select the first option.
You will reach a page where you will be prompted to give it a name and link it to a Cloudant instance.
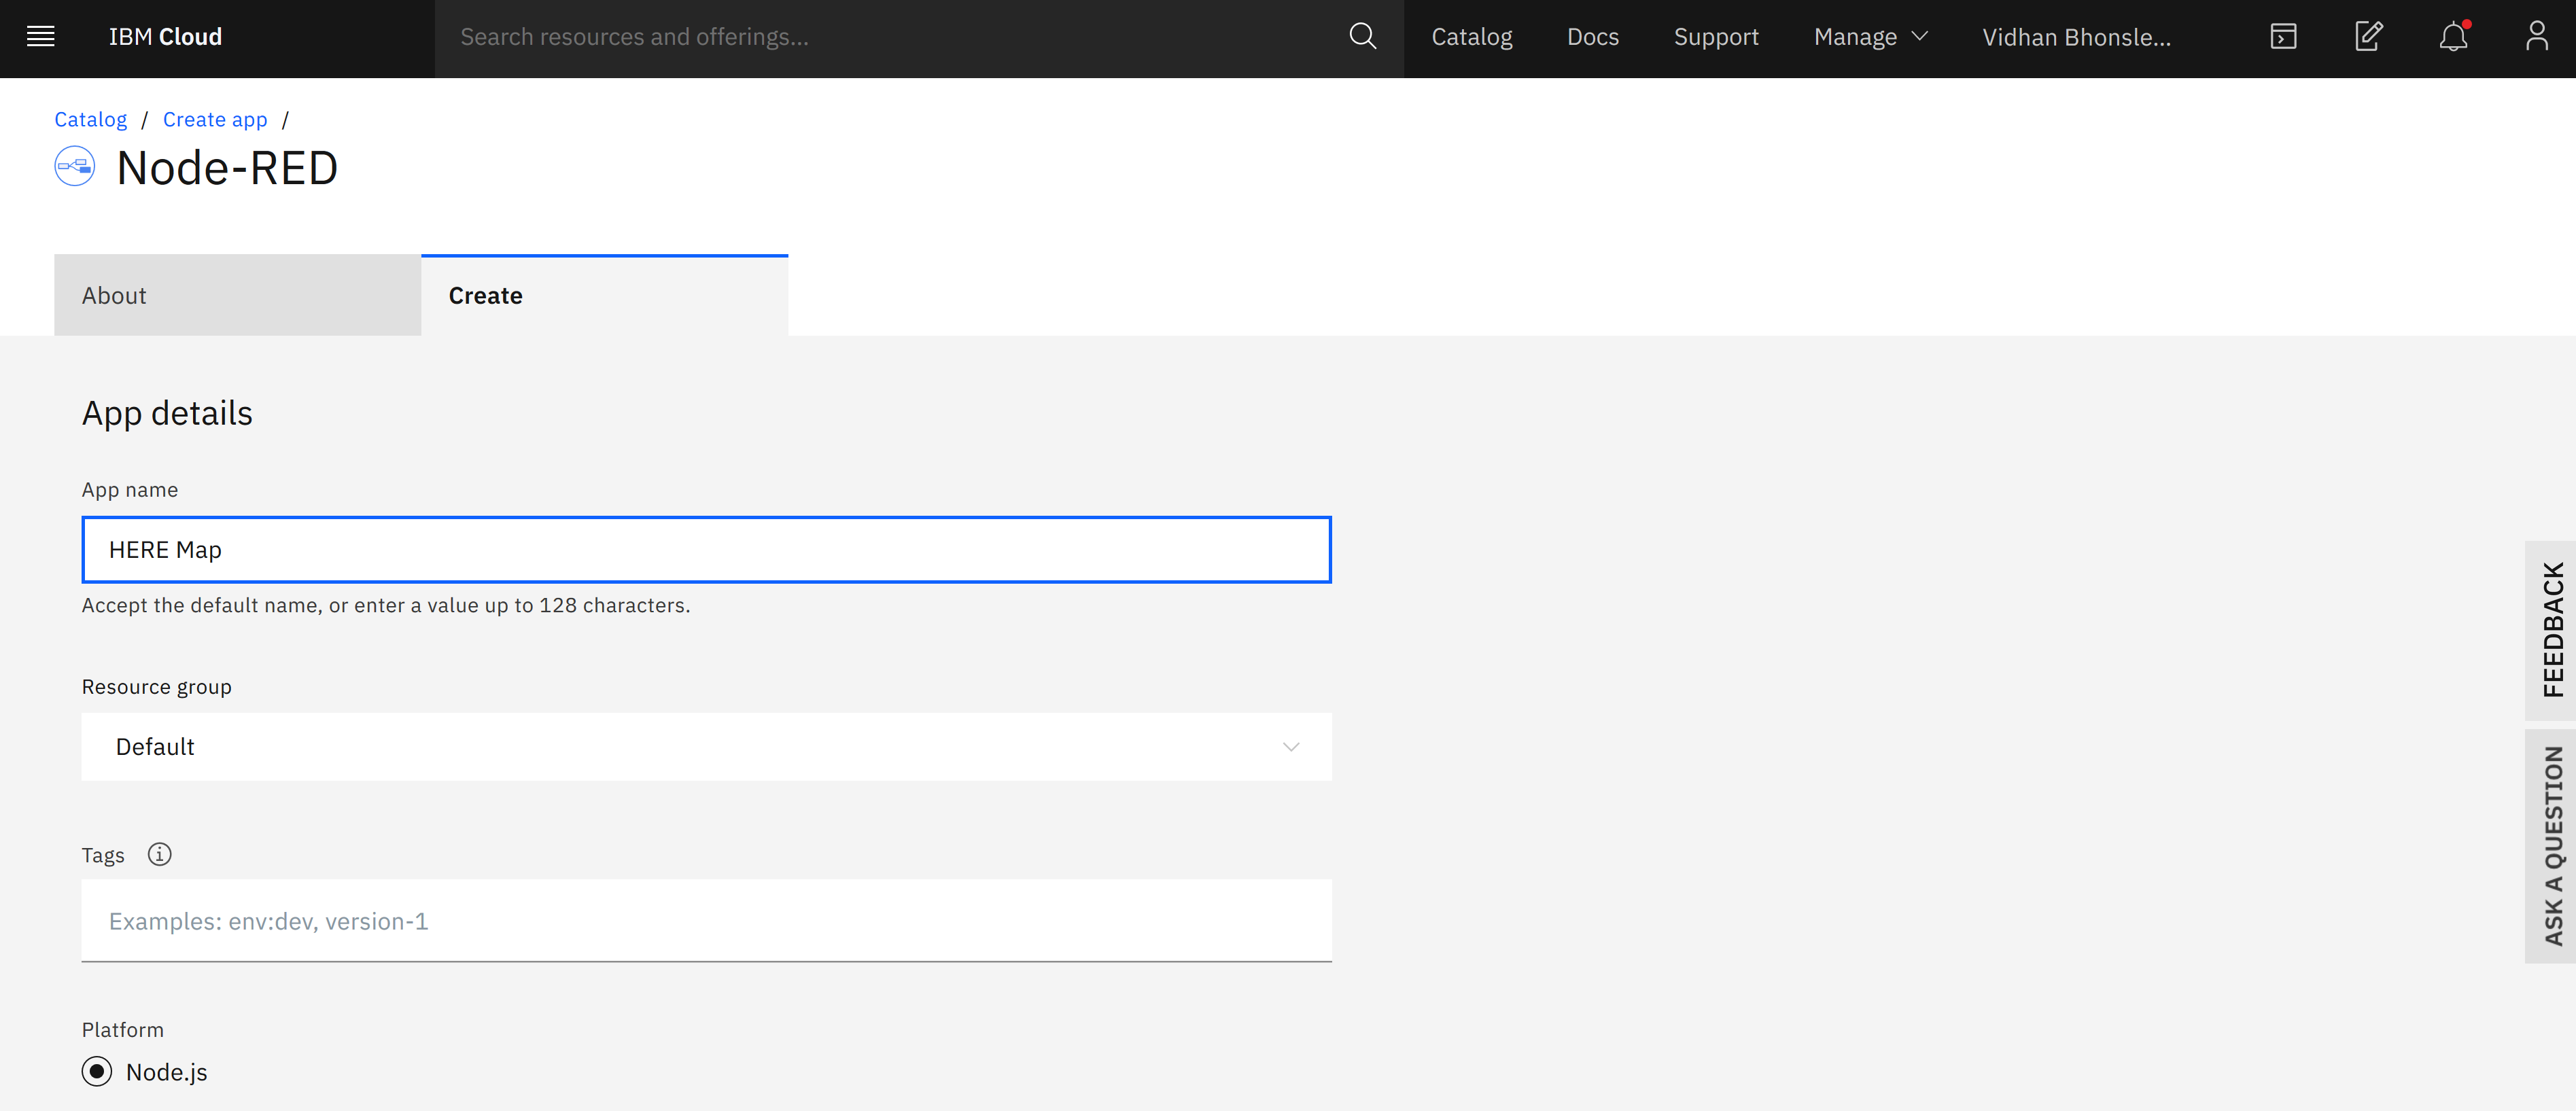
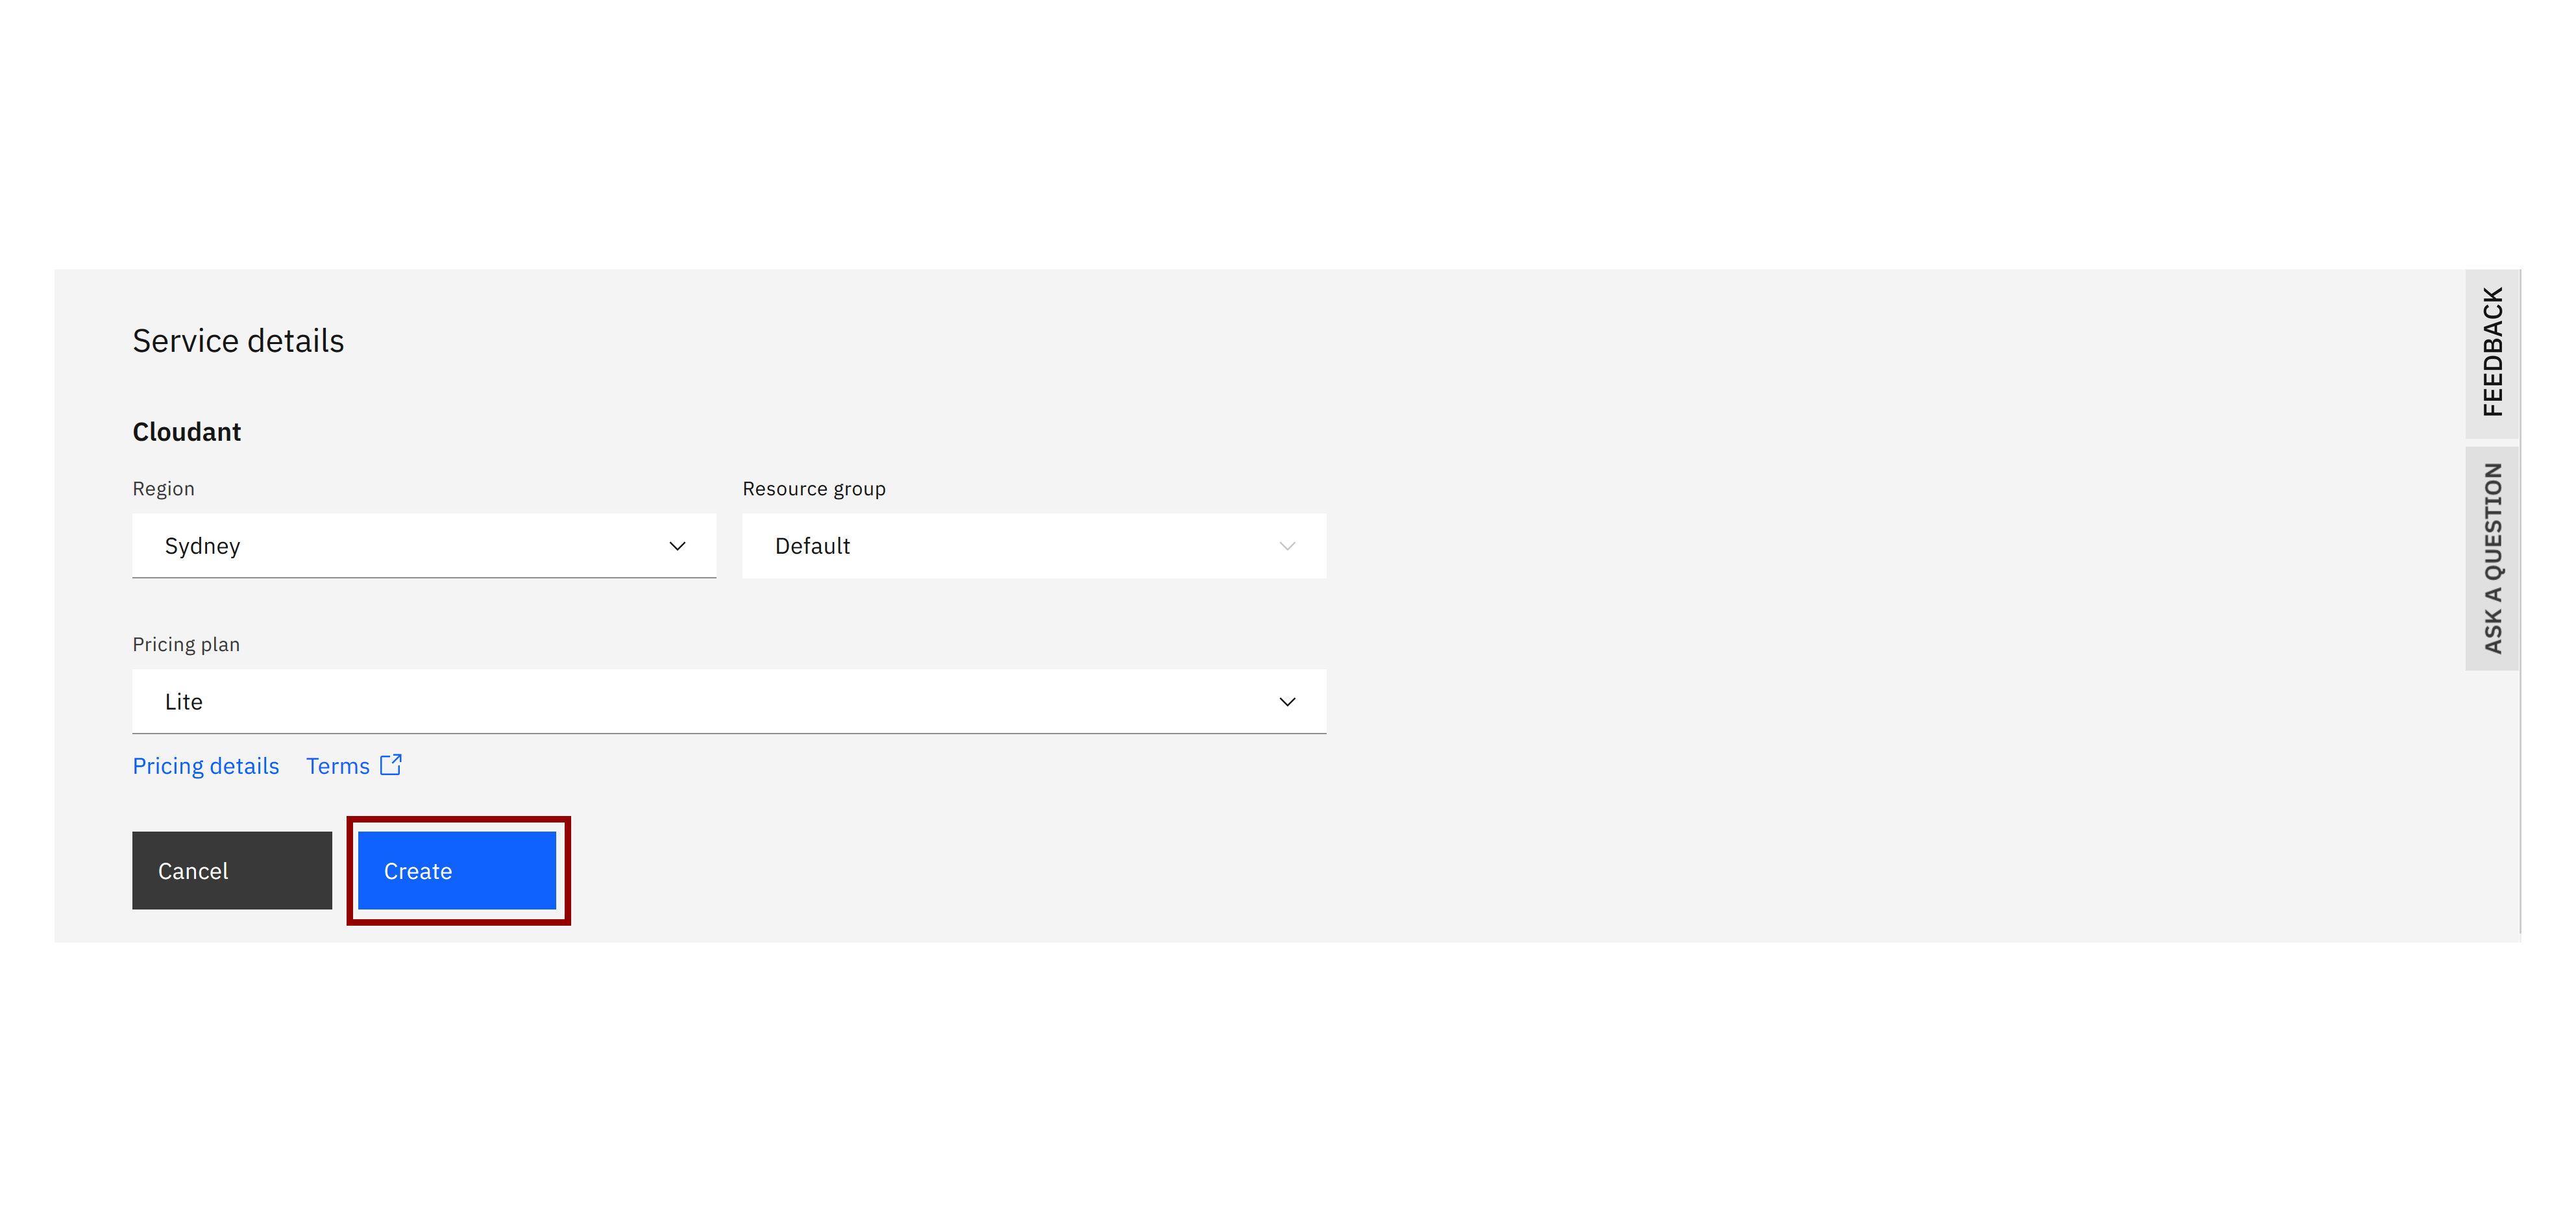
If you already have a Cloudant DB, you can link it from the drop down menu or create a new instance. Then click on 'Create' to move to the next step.
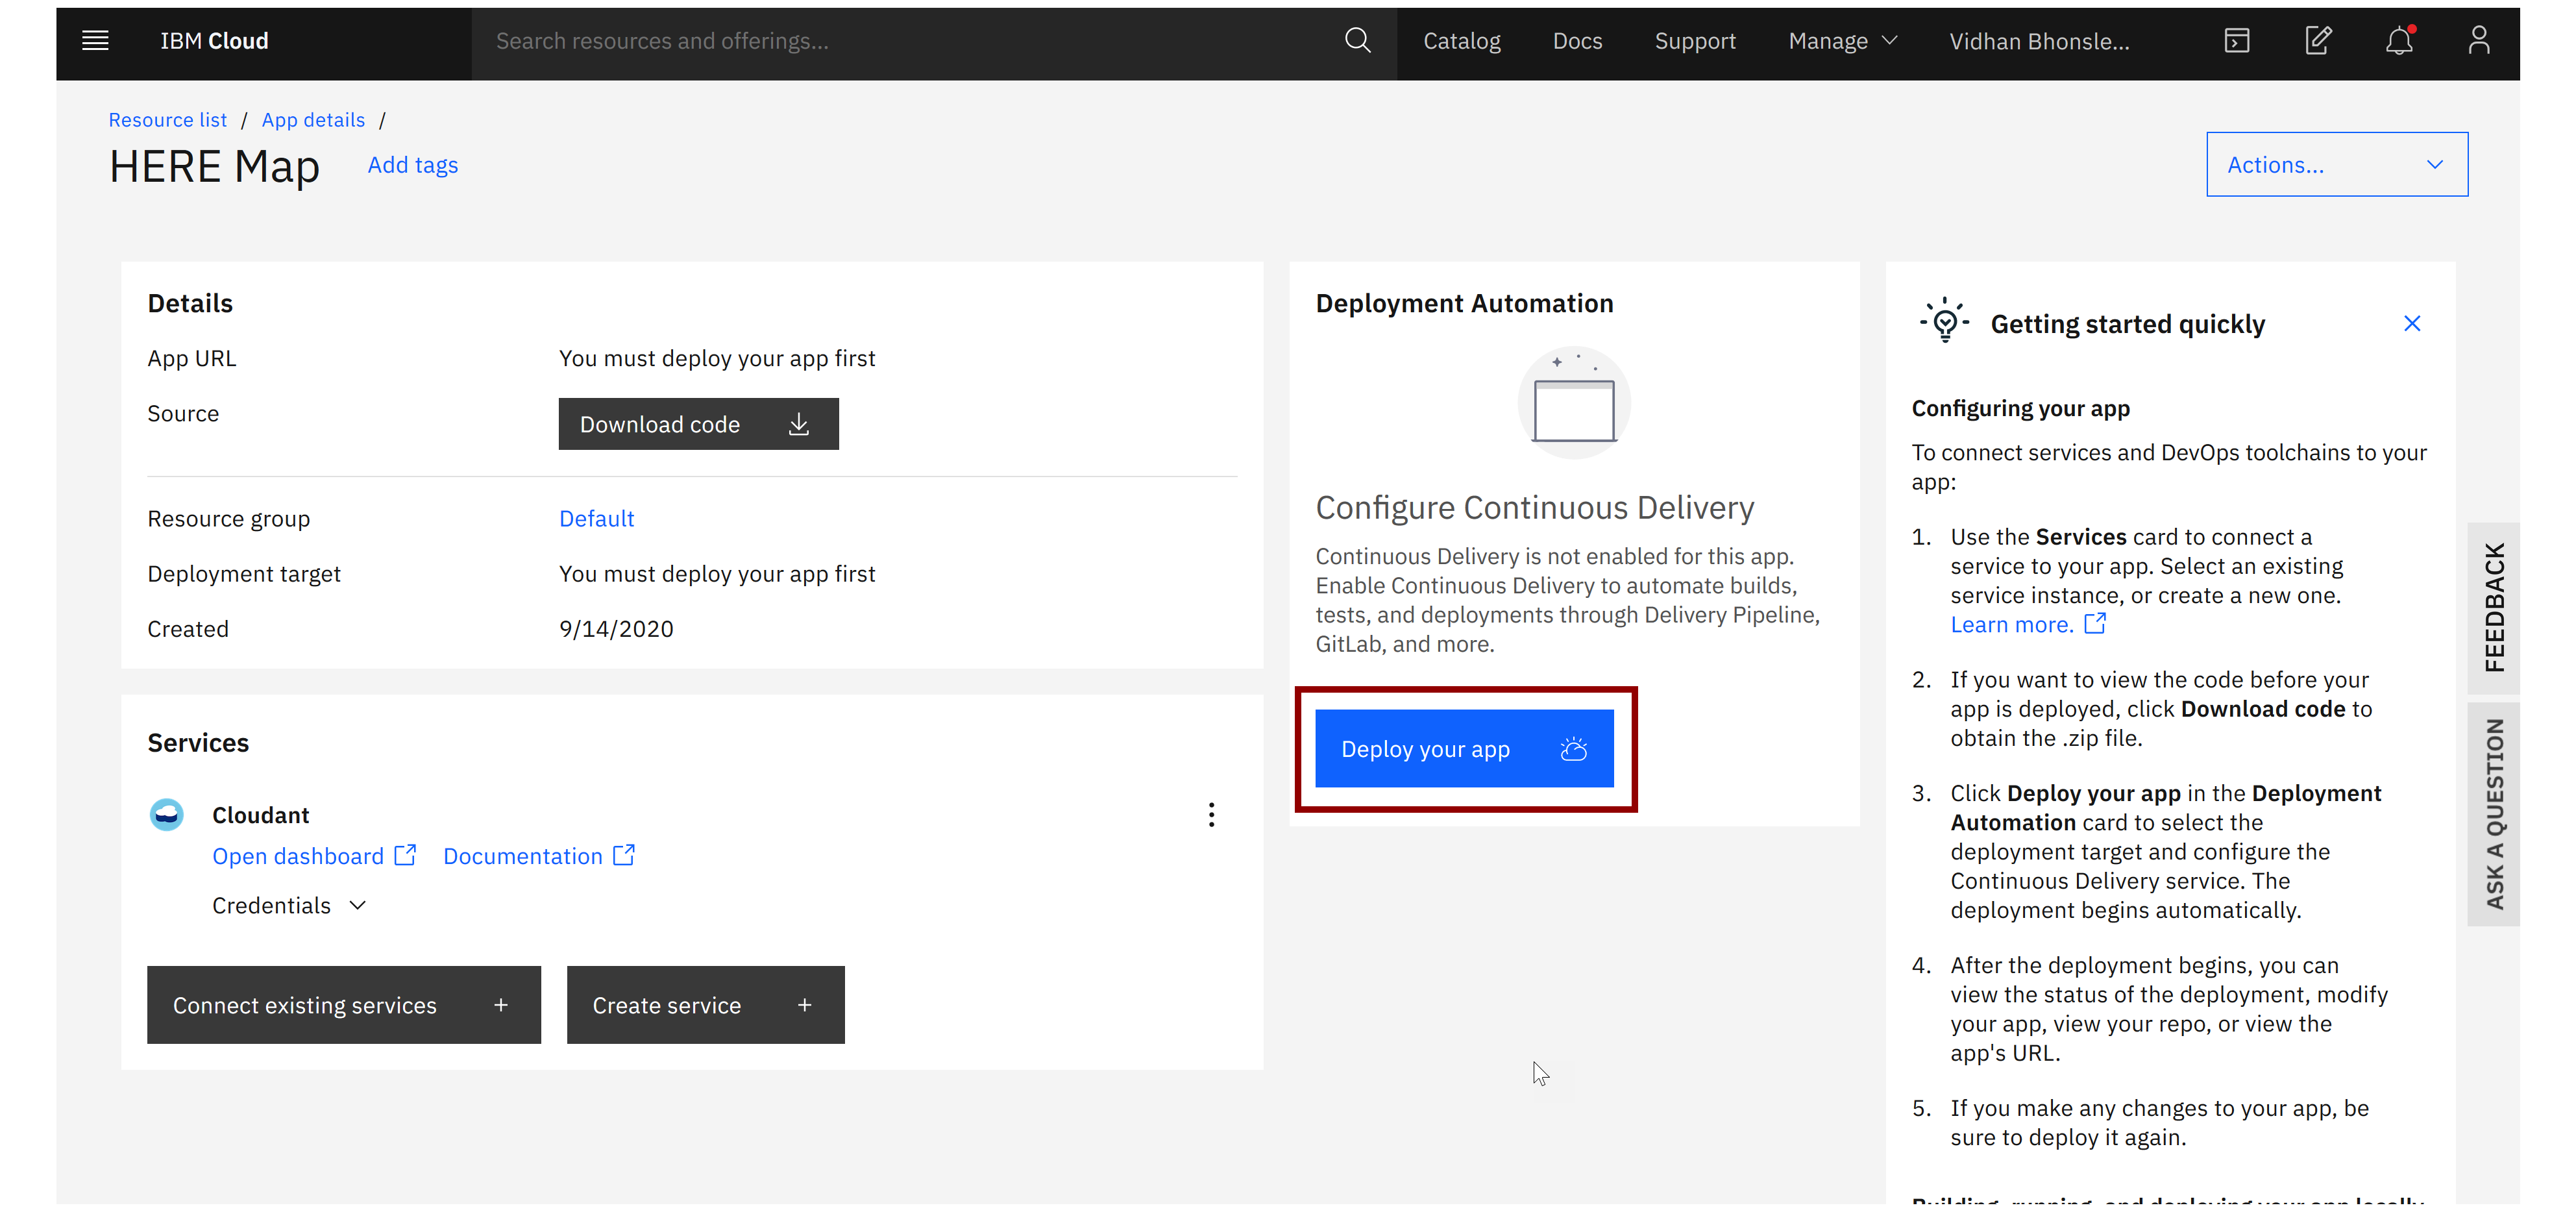
Then you will be redirected to an overview page of the application. In order to use the application, you will need to deploy it on Cloud Foundry. To do so, click on "Deploy your app" button.
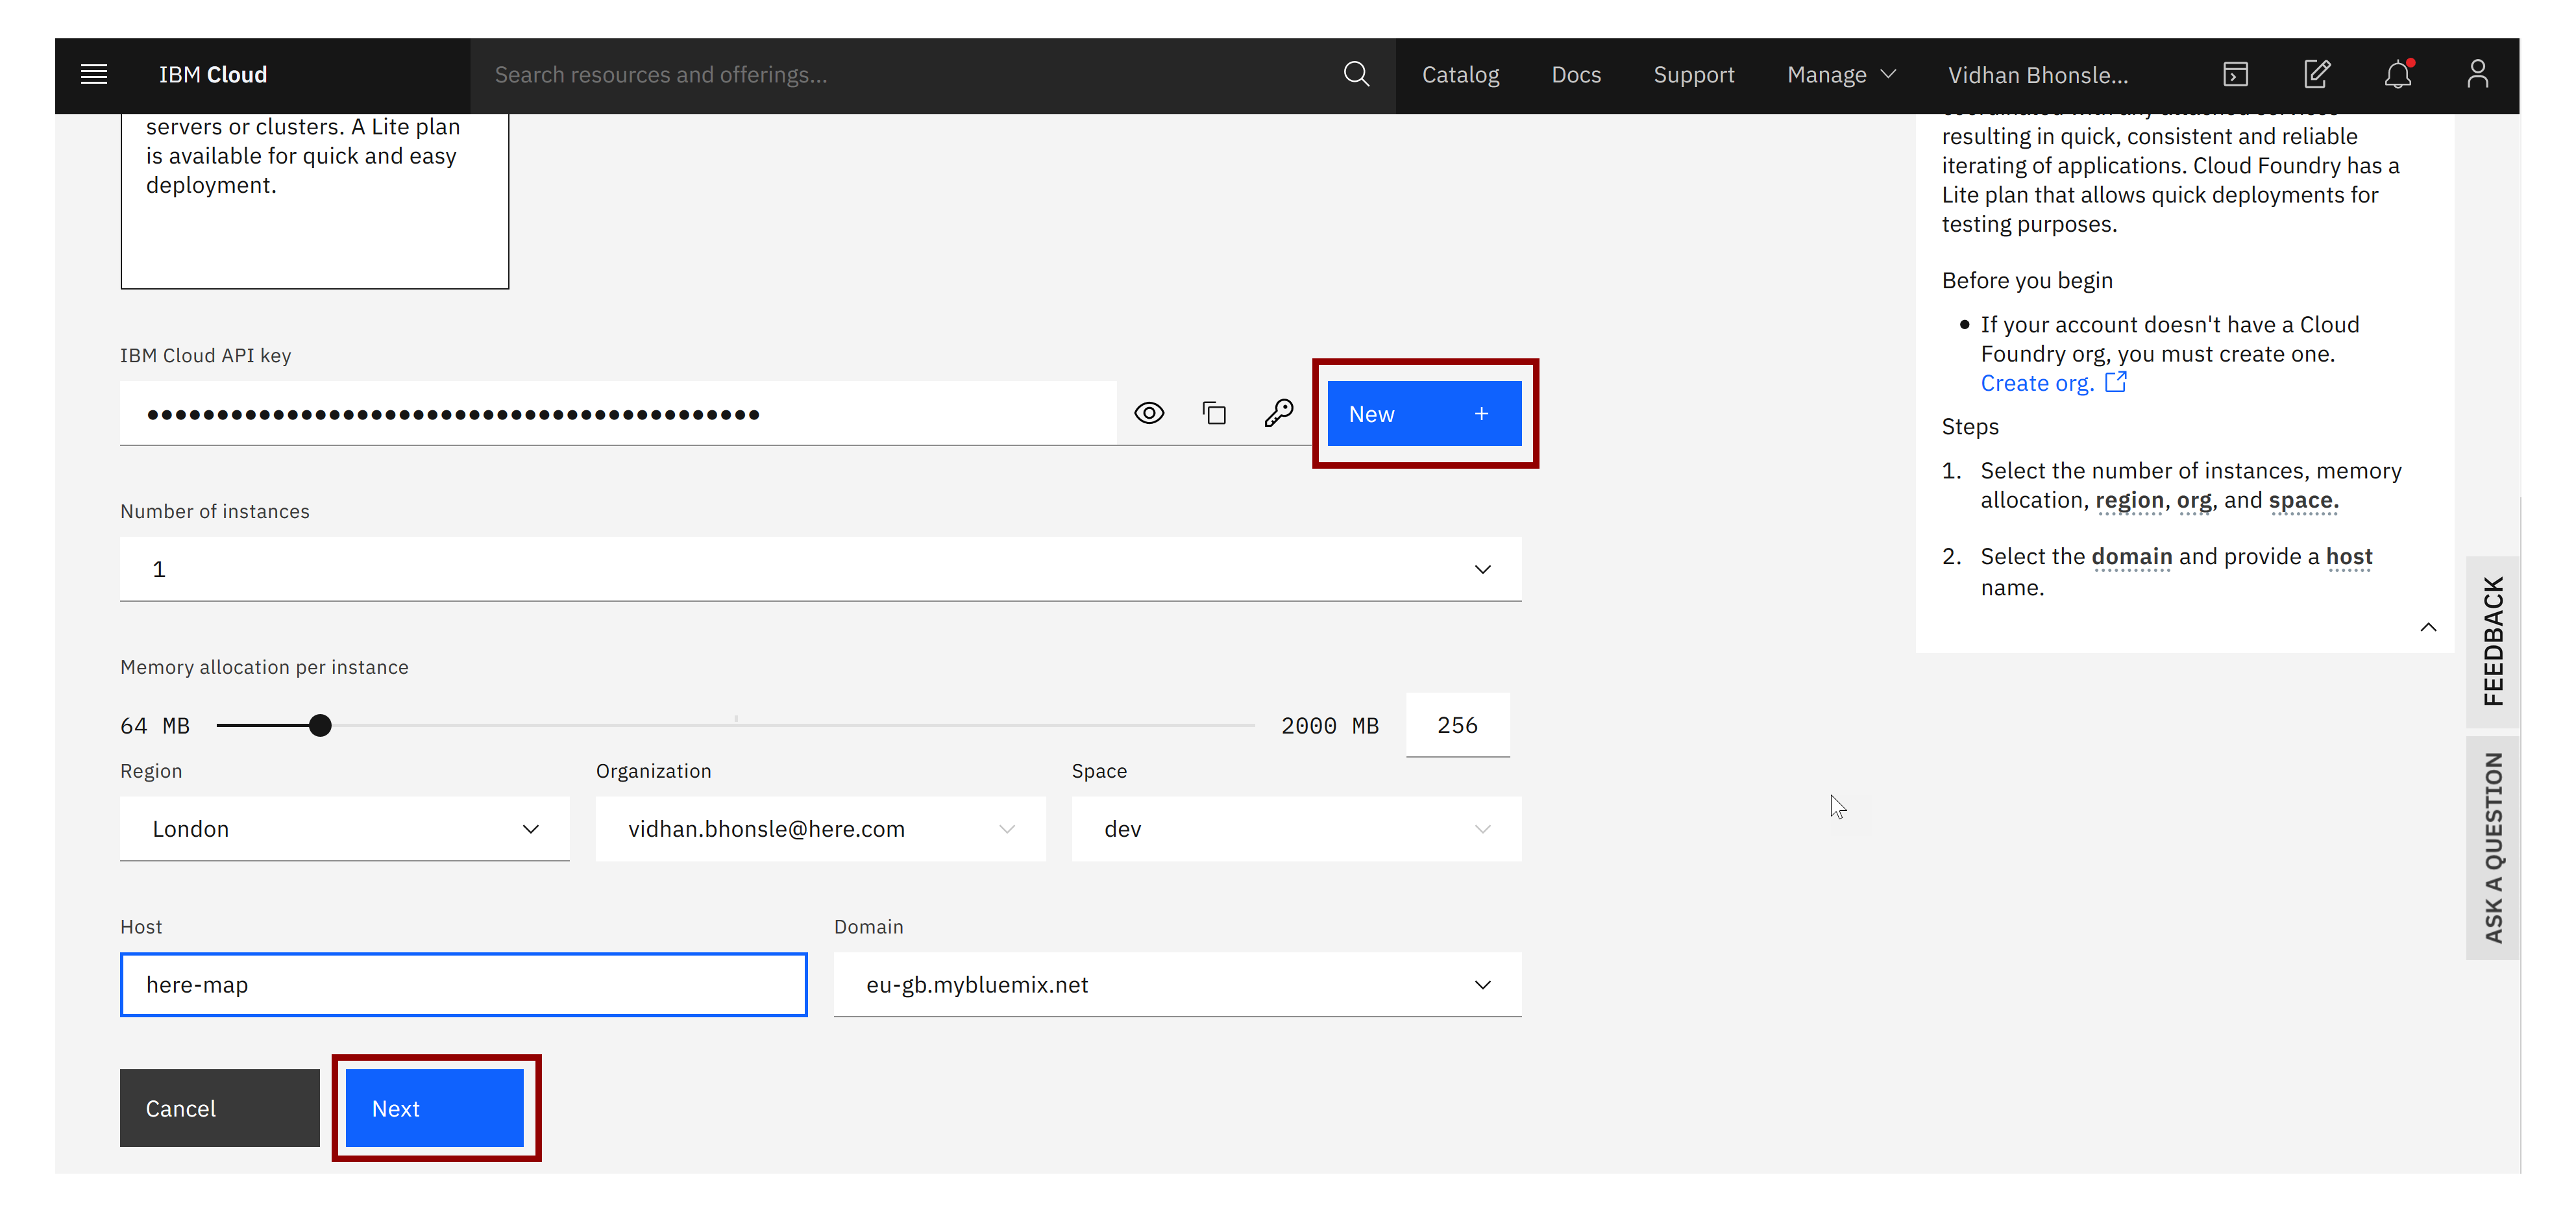
The Node-RED Starter kit only supports deployment to the Cloud Foundry space of IBM Cloud. Select the region to deploy your application to. This should match the region you created your Cloudant instance in. Lite users might only be able to deploy to your default region. Click Next to continue.
Configure the DevOps tool-chain by selecting the region it should be created in, try to match the region you selected previously. Click Create. This will take you back to the application details page.

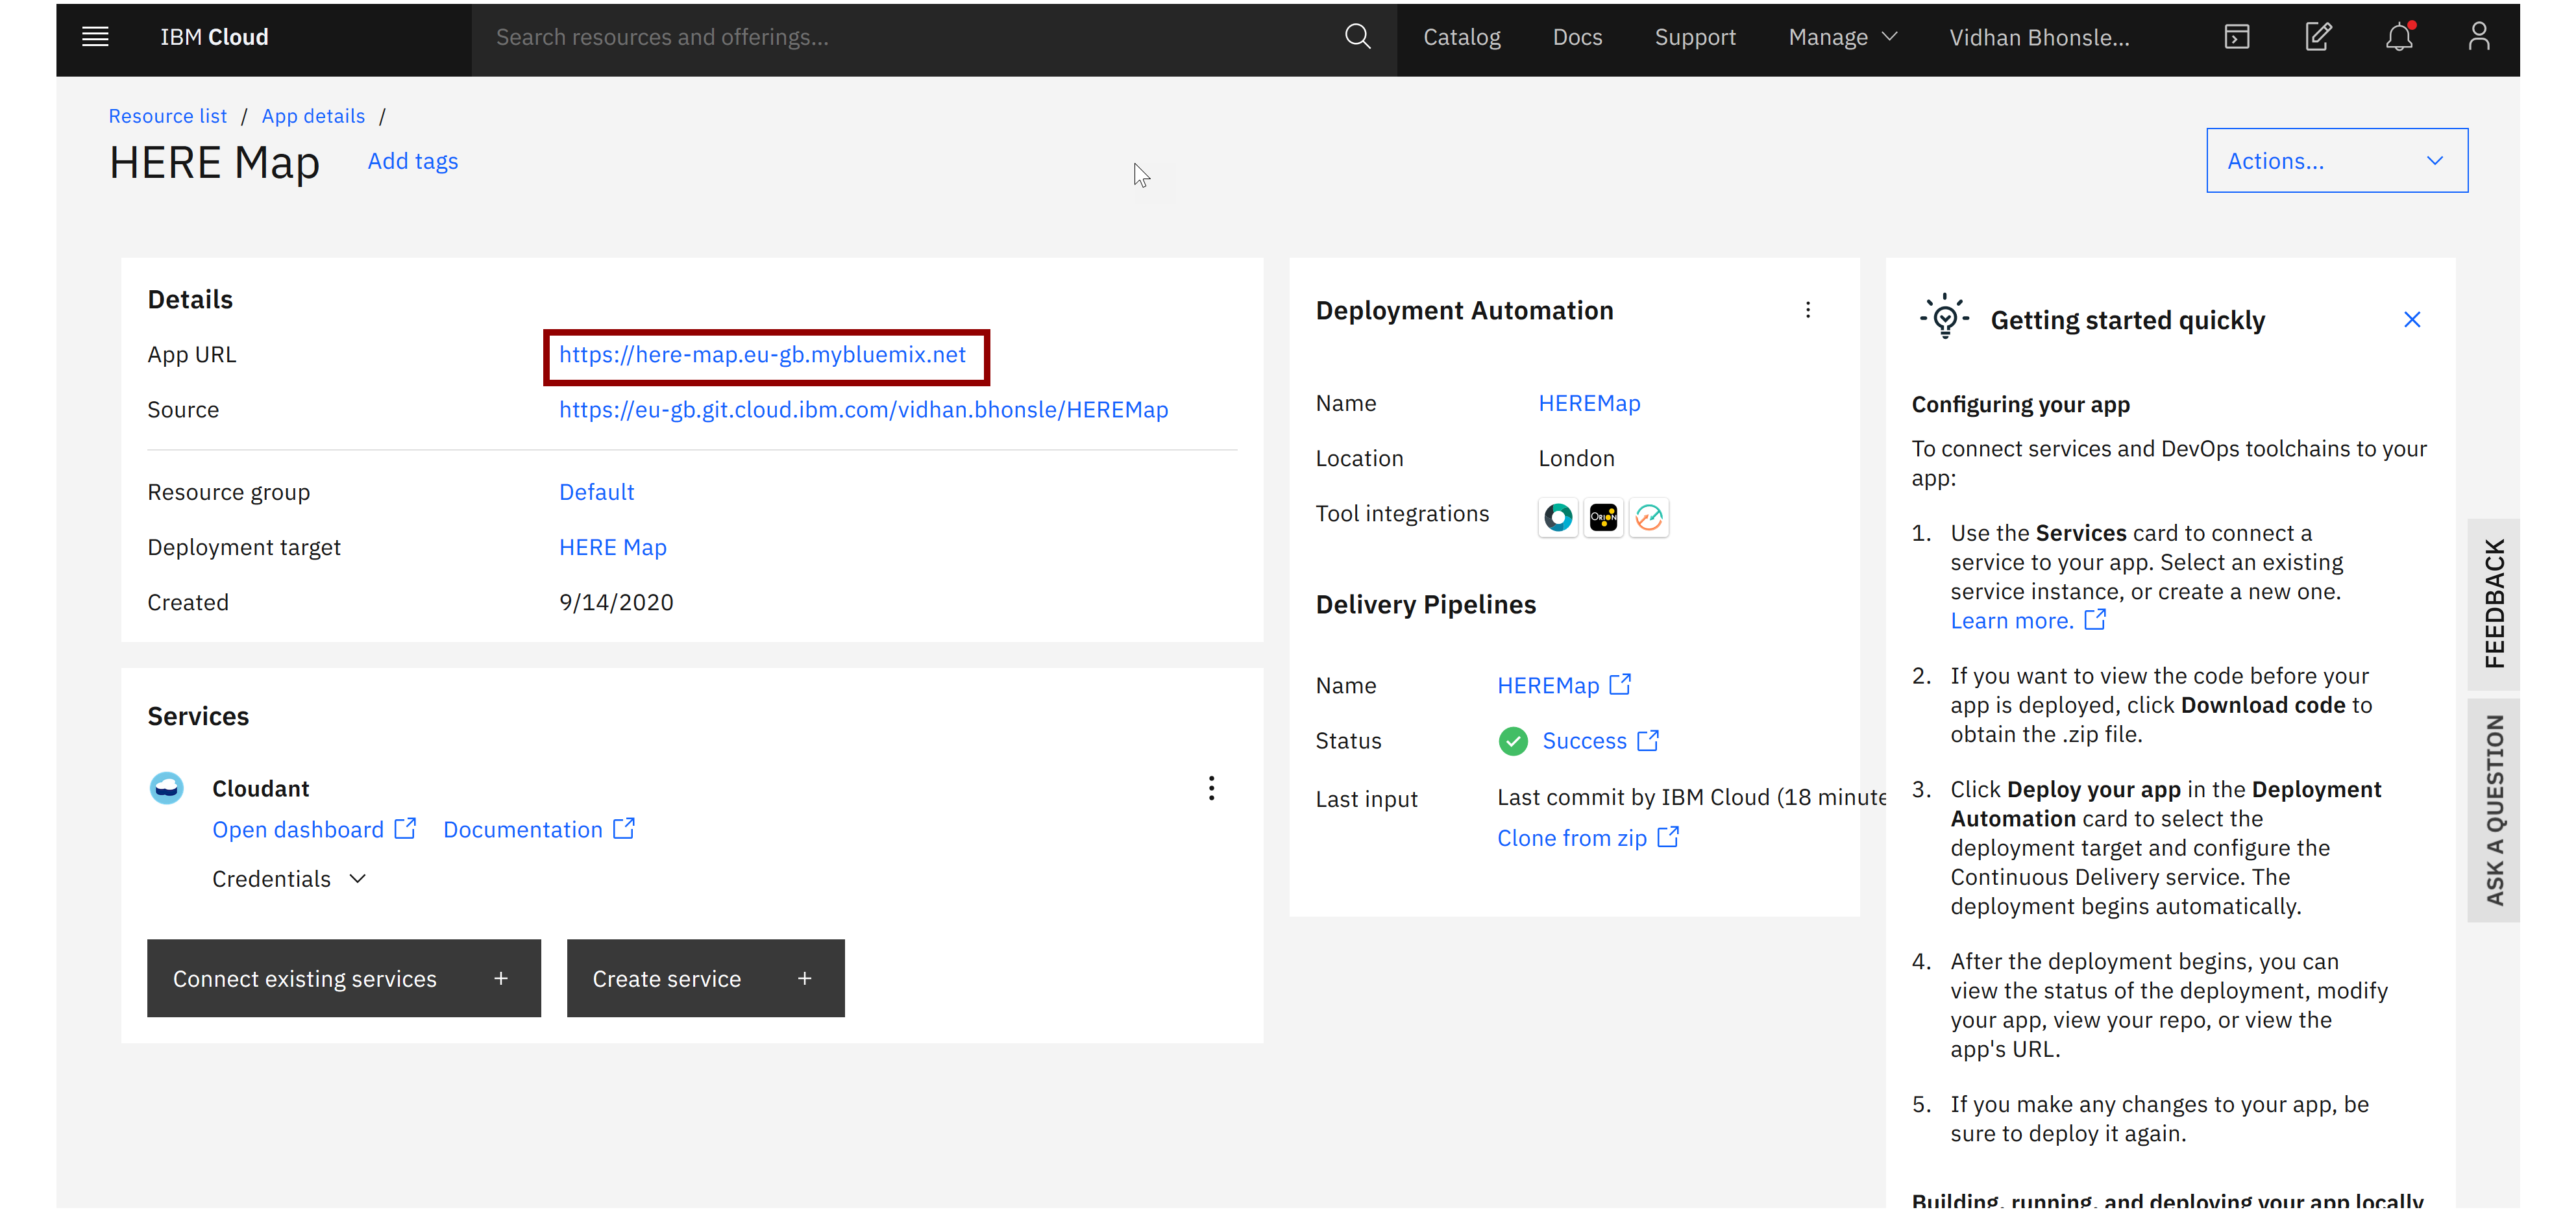
Deploying the application will take few minutes. After it's done deploying, you will notice the application details have been updated and now you can access the Node-RED Application from App URL.
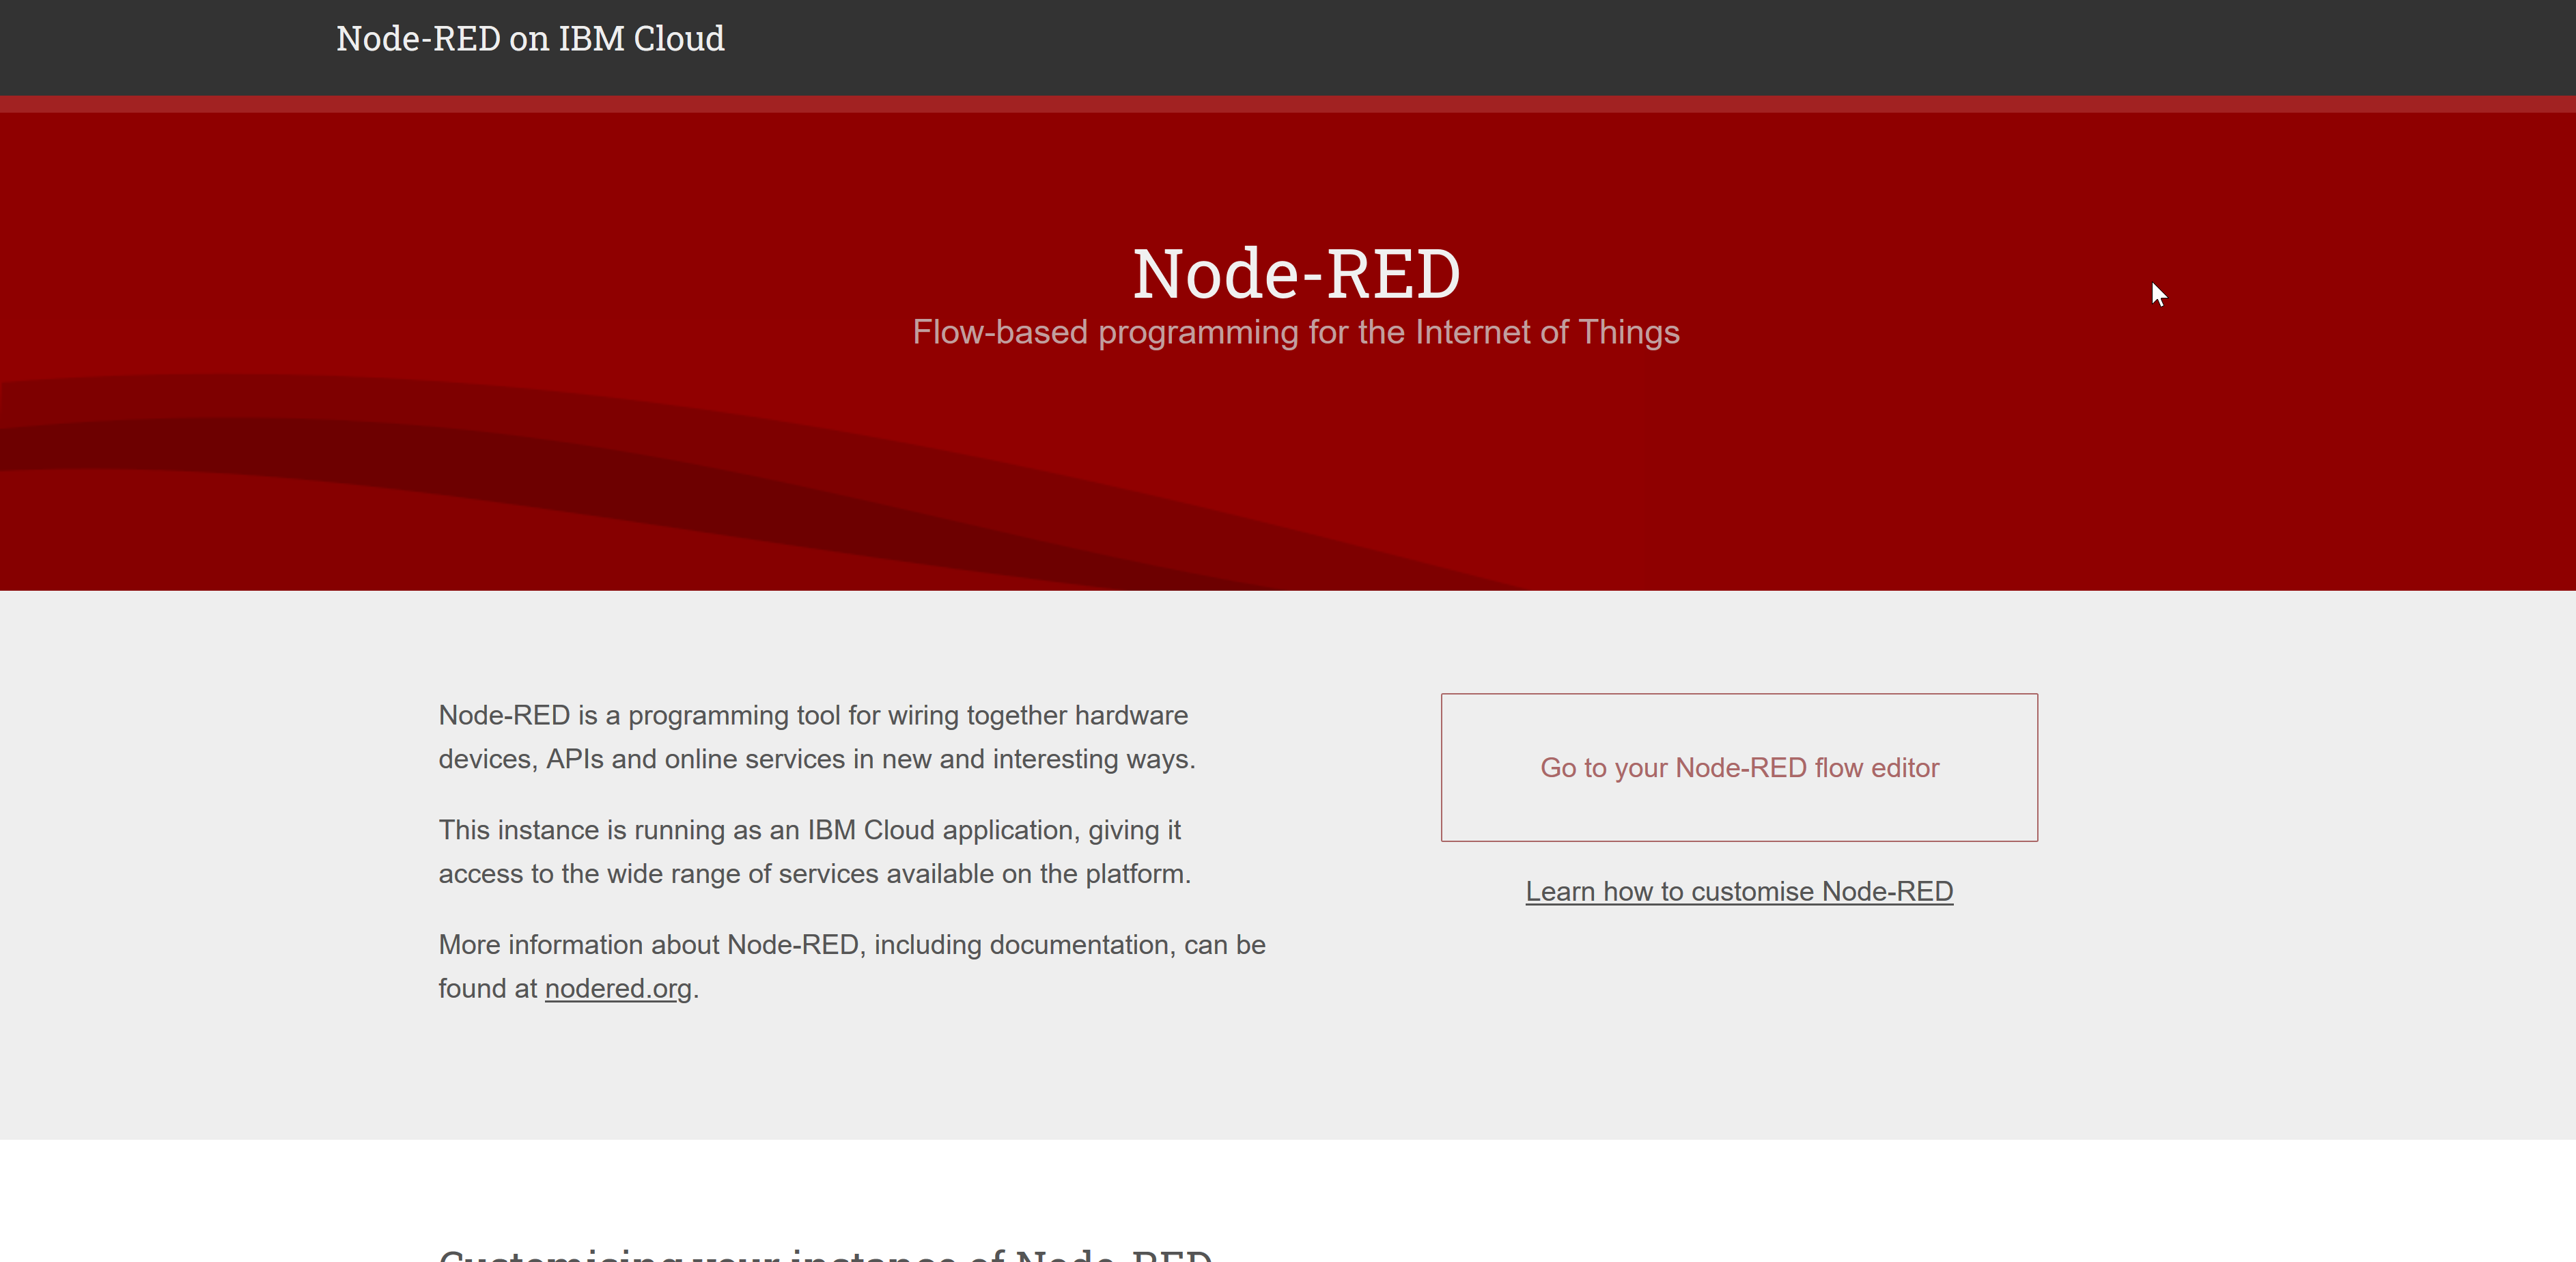
When you click on the click, you will be prompted to configure your Node-RED application. Once you are done, you will be redirected to a new page.
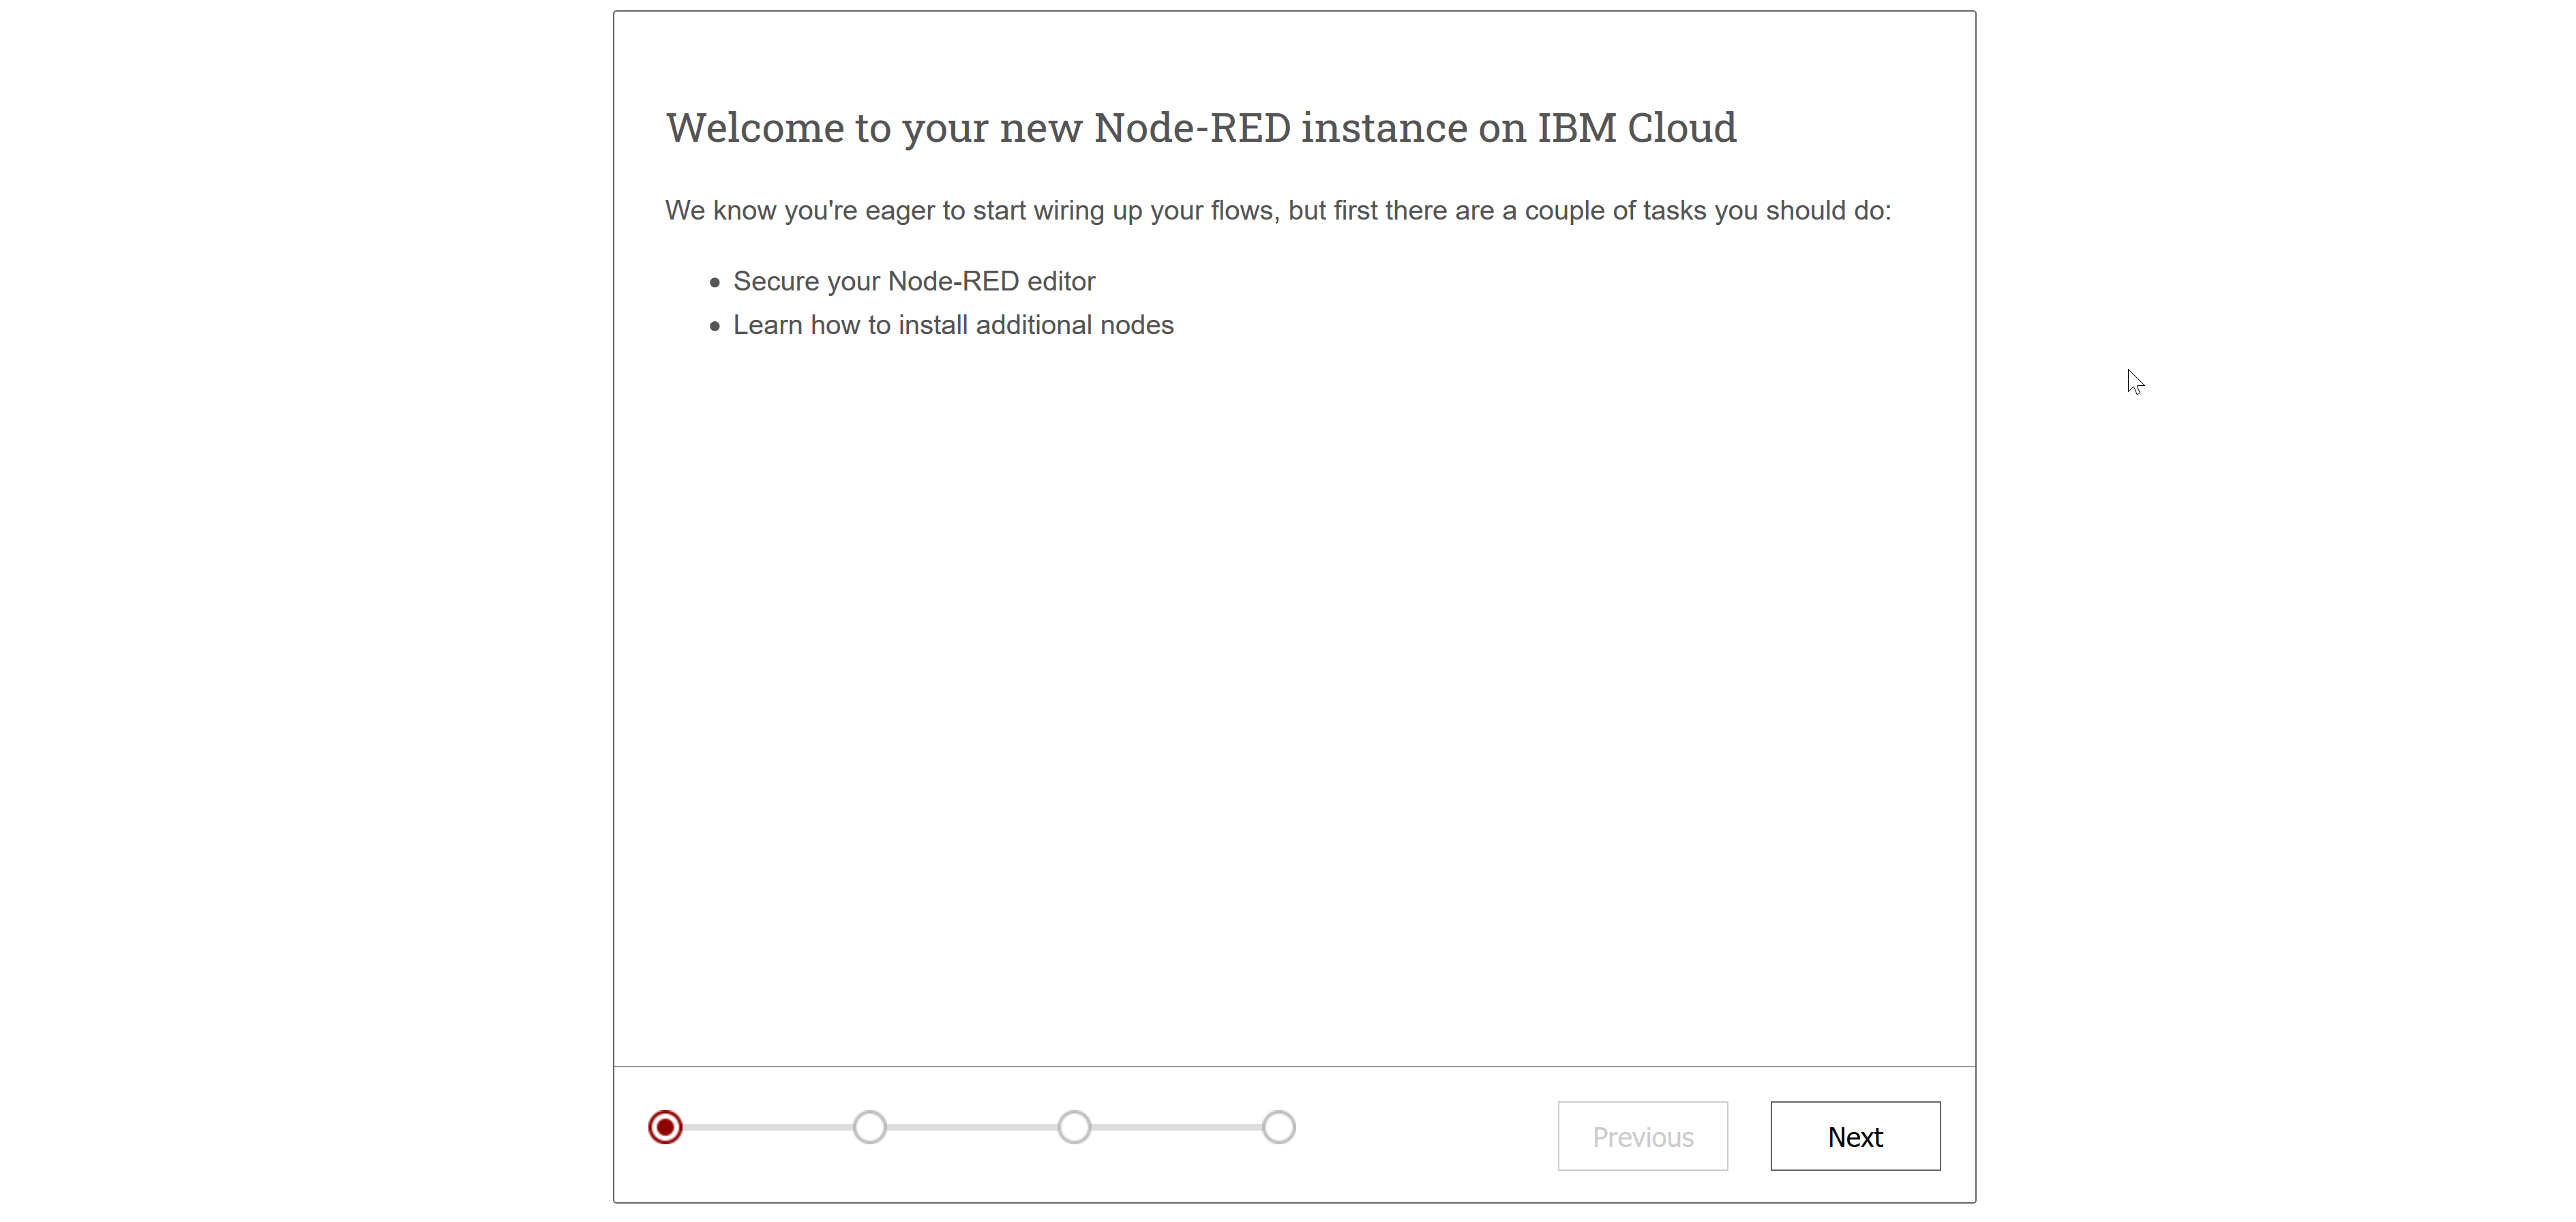
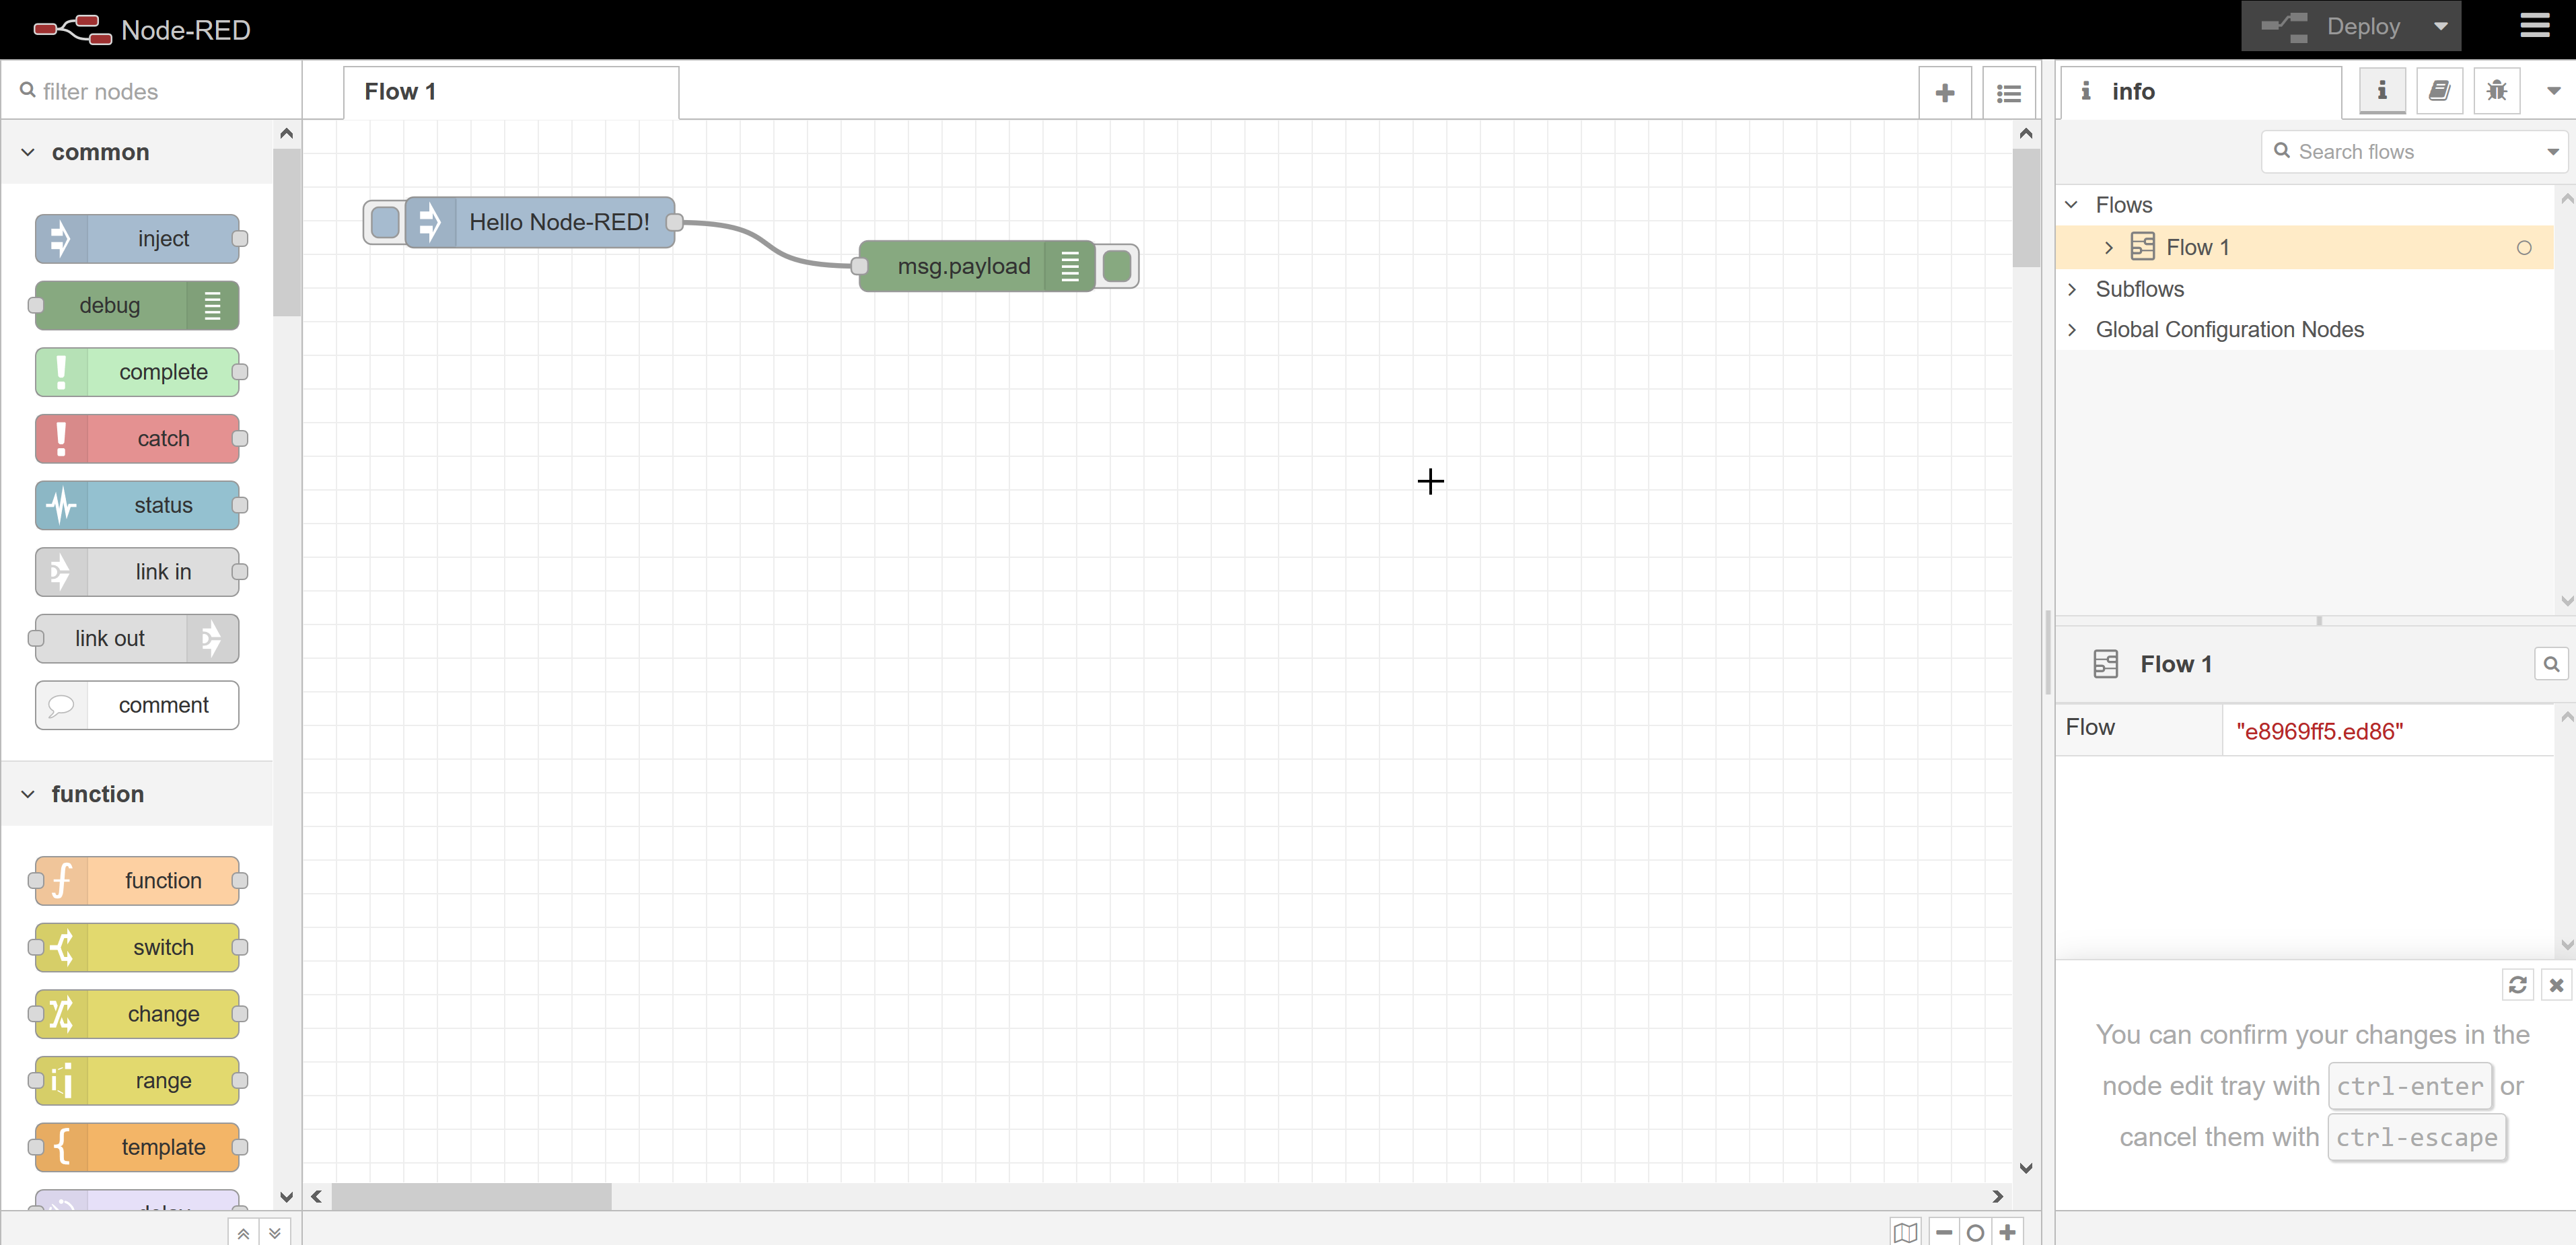
Click on "Go to your Node-RED flow editor" to open Node-RED.
The Node-RED editor page will open with a bunch of controls and information.
Conclusion
In this part, we completed the initial setup and are now ready to get started with Node RED. Next, I will introduce HERE Maps and add a node to show the map in your browser.

Have your say
Sign up for our newsletter
Why sign up:
- Latest offers and discounts
- Tailored content delivered weekly
- Exclusive events
- One click to unsubscribe