Create an Android Map Application in Under 5 Minutes
A few weeks ago, we released our new HERE SDK for Android. Since then we've also launched a brand-new season of Waypoints on Twitch in which we are exploring this SDK in detail. However, an episode of Waypoints is an hour long and sometimes you just want to get something done quickly. So in this blog post, we're going to learn how to set up an Android Map Application in under 5 minutes. Set your stopwatches, here we go!
Creating our app is five-step process. Each of these steps can be completed in a minute or less.
- Get your credentials and download the SDK libraries.
- Grab an example from GitHub.
- Add SDK library to your app's libs folder.
- Add your credentials to the manifest file.
- I was lying. There's no step five. It really is that quick and easy.
Let's quickly(!) walk through all of these steps.
Step 1: Get Your Credentials
First you need to sign up on the developer portal, generate a set of credentials and download the SDK files. Just click on "Sign up" on the top-right of this page and follow the process. My colleague Michael has made a video in case you need help. (Which you don’t. Go ahead, you got this.)
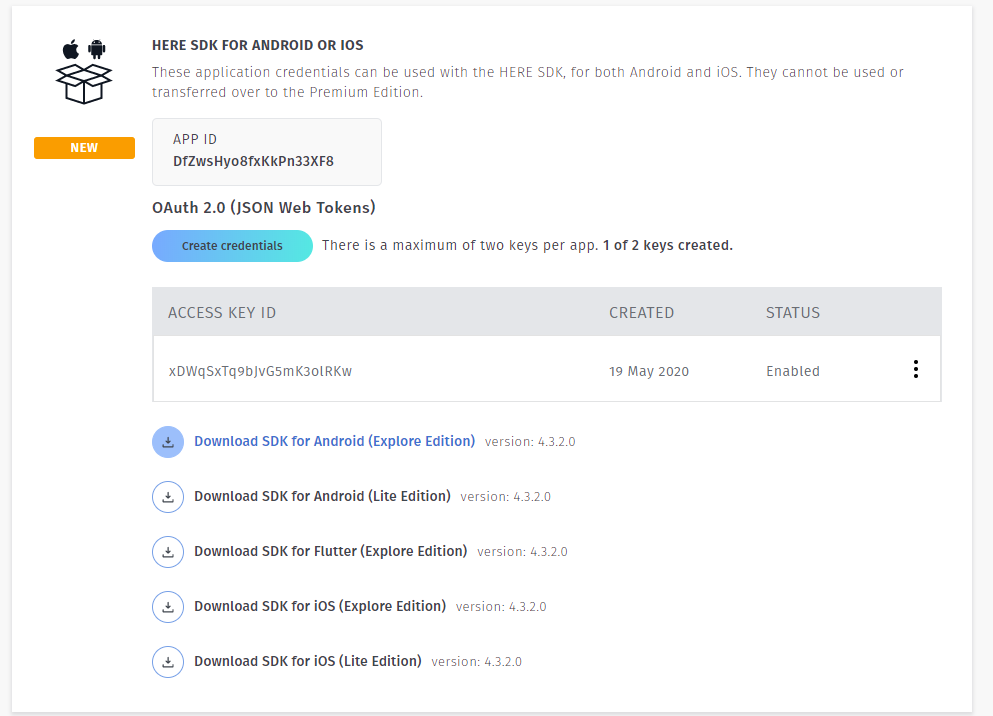
Once you've signed up, you will be taken to your project page. There, click on "Generate App" then on "Create Credentials". Store these credentials, we will need them in Step 4.

Finally, click on "Download SDK for Android (Explore Edition)". The download contains an .aar file, which we will need in Step 3 so store it in a safe place.
Fun fact: This was most complicated and time-consuming step. It’s only going to get faster from here.
Step 2: Clone the Examples from GitHub
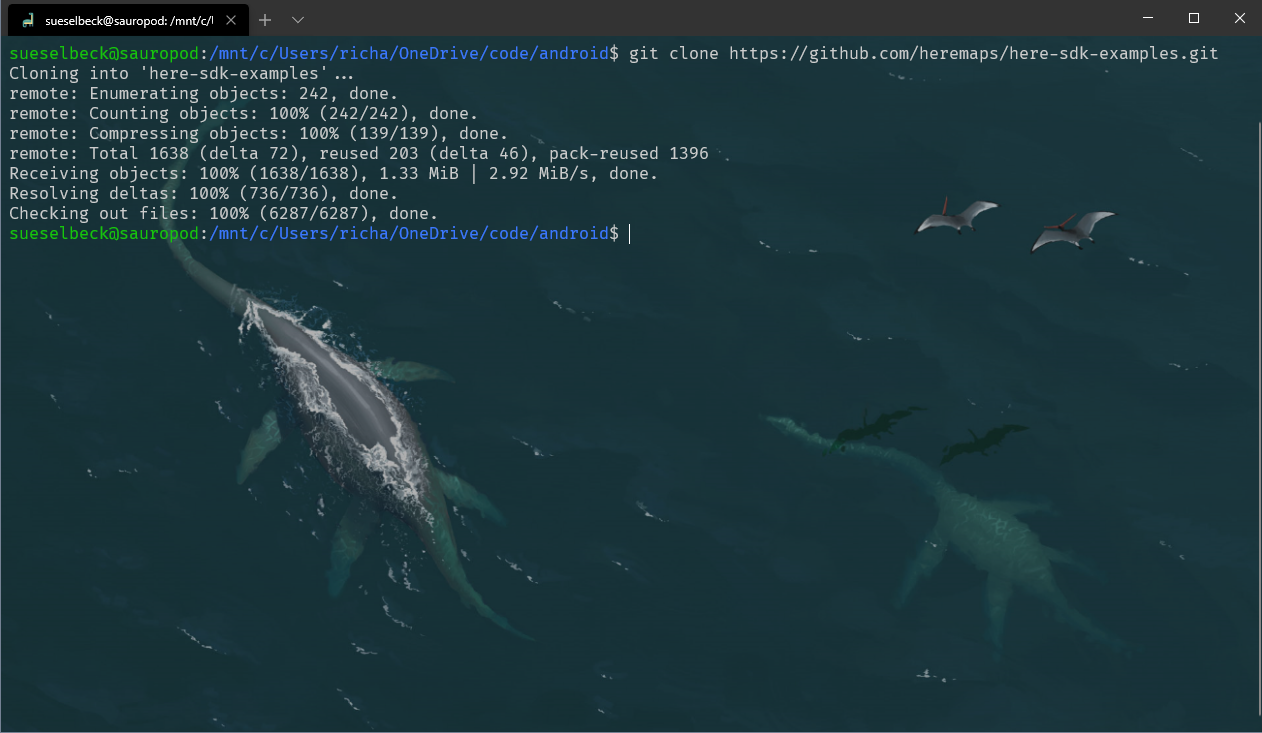
This step is even faster. Just "git clone https://github.com/heremaps/here-sdk-examples.git" to get the HERE SDK Examples from the HERE GitHub account.
Step 3: Add the SDK Library to your Project
Go into the examples folder of the SDK examples you just downloaded and find the "HelloMap" example for the Explore Edition. Then copy the .aar file from Step 1 into the app/libs folder of the example app.
That’s it. That’s the whole step.
Step 4: Add Credentials to your Project
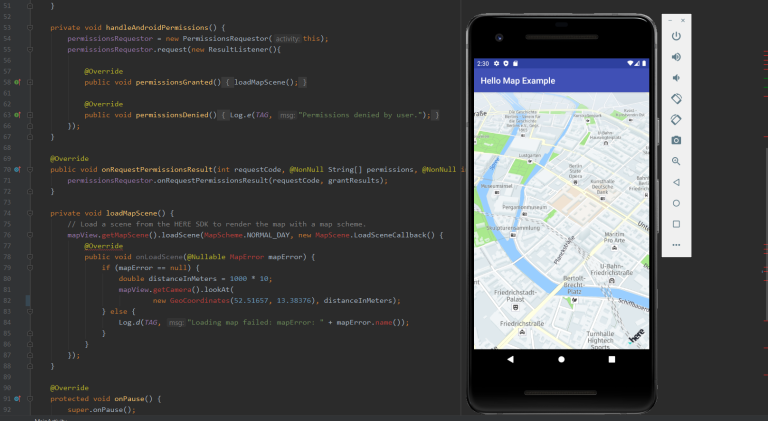
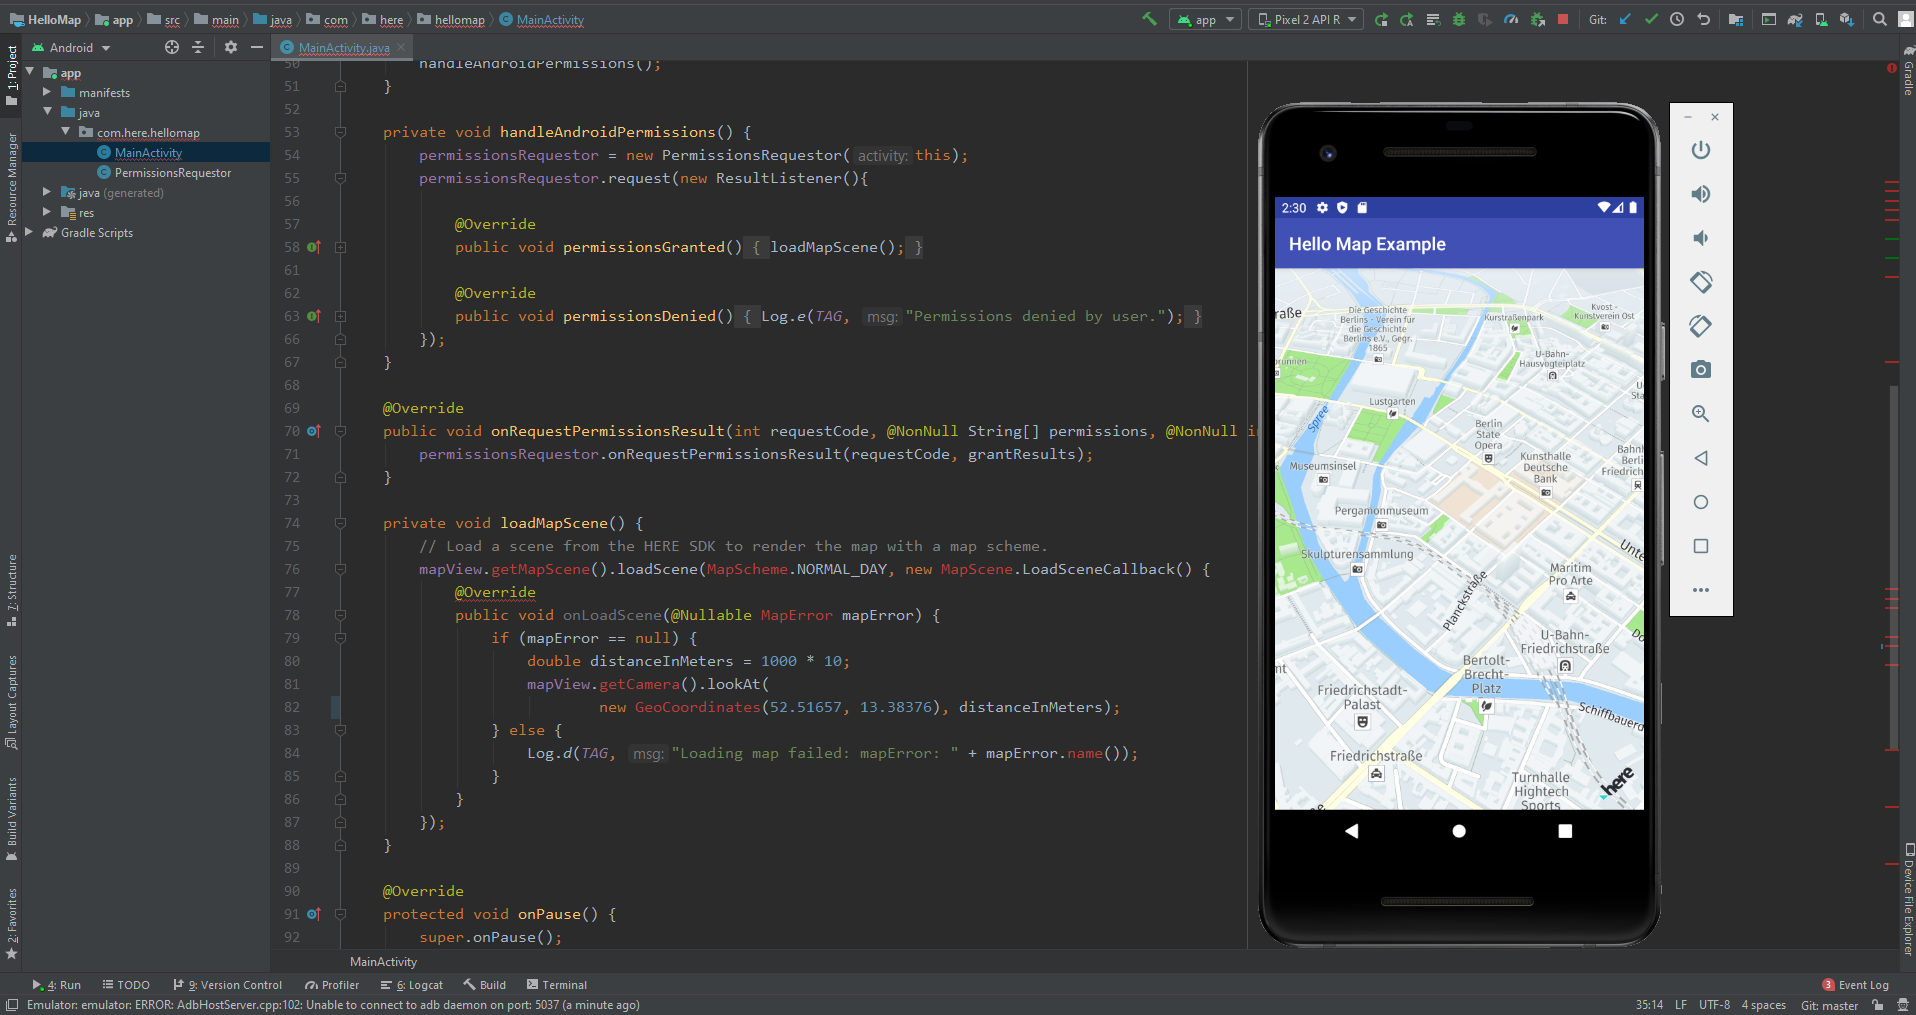
Open the "HelloMap" example in Android Studio.
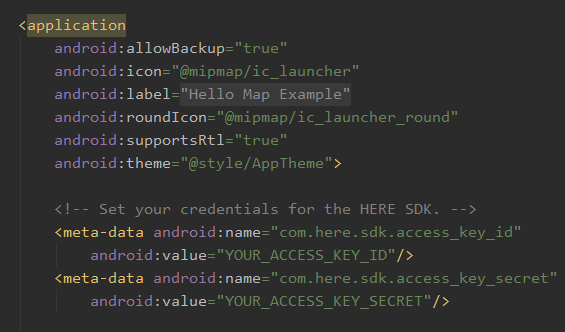
In Android Studio, go to the manifest.xml file of your project and paste your credentials (Access Key ID and Access Key Secret) from Step 1 into the appropriate tags under "application".
Step 5: You're Done!
OK, so there's technically a fifth step in that you have to build and run your app. That might also take a minute depending on what Gradle had for breakfast. Either way, you should have just created a running app with a HERE map! Congrats! (And don’t sweat it if you took like seven minutes or something. I won’t tell anybody.)
Now, if this was too fast for you after all, you can check out the documentation for more details. You'll also get information on how to add a map to an existing app.
Or you could just watch the first episode of the latest season of Waypoints on YouTube. Sure, that may take an hour, but it's also a lot of fun!
Be sure to follow us on Twitter and Twitch to get info on future episodes! I’ll see you next time, when we will try to create an iOS app with a map in under five minutes!

Have your say
Sign up for our newsletter
Why sign up:
- Latest offers and discounts
- Tailored content delivered weekly
- Exclusive events
- One click to unsubscribe